Manual
What chan is and how to get productive with it: terminals, workspaces, the command launcher, devservers, and the editor.
chan turns a folder on your disk into a workspace: it indexes the content for search, gives Markdown files autocompletion for linking to each other, and builds a graph of the project. Around that it gives you a desktop app with a fast terminal emulator, split panes, and built-in apps (editor, file browser, graph, dashboard, and more), so you and your coding agents work on the same project side by side. Everything runs locally by default, and the same experience works against a remote machine through Chan Devserver.
Chan Desktop is the place to start: a small binary that bundles the terminal emulator and the workspace UI. Grab it for your platform from the install page.
Chan Desktop opens on the Computers screen. It lists this machine and any devservers you add later. The "This machine" card has two buttons:
- New terminal opens a standalone terminal window.
- New workspace registers a folder as a workspace (see Workspaces below).
Inside every chan terminal, the chan and cs (chan shell) commands drive the UI. Try:
$cs terminal new
This opens a new terminal tab in the current window. A few things to know about tabs and panes:
- Split a pane with
Cmd+/(split right) orCmd+Shift+/(split bottom) on macOS,Ctrl+/andCtrl+Shift+/on Windows and Linux,Ctrl+Alt+/andCtrl+Alt+?on web. Both also live in the command launcher. - Drag tabs across panes to rearrange them.
- Every pane has two sides, A and B. The A/B button in the pane's top bar flips between them (
Ctrl+`), so one pane can hold two sets of tabs. - Close a tab with
Cmd+Won macOS, orCtrl+Don any platform. - Close a window with
Cmd+Shift+Won macOS,Ctrl+Shift+Won Windows and Linux. On web, close the browser tab. - If a window refuses to close, the hidden side of a pane still has tabs: the A/B button flashes to show you where they are. Flip and close them first.
- Clicking the [X] close button in your window manager offers to hide the window (everything keeps running) or close it.
Rich Prompt
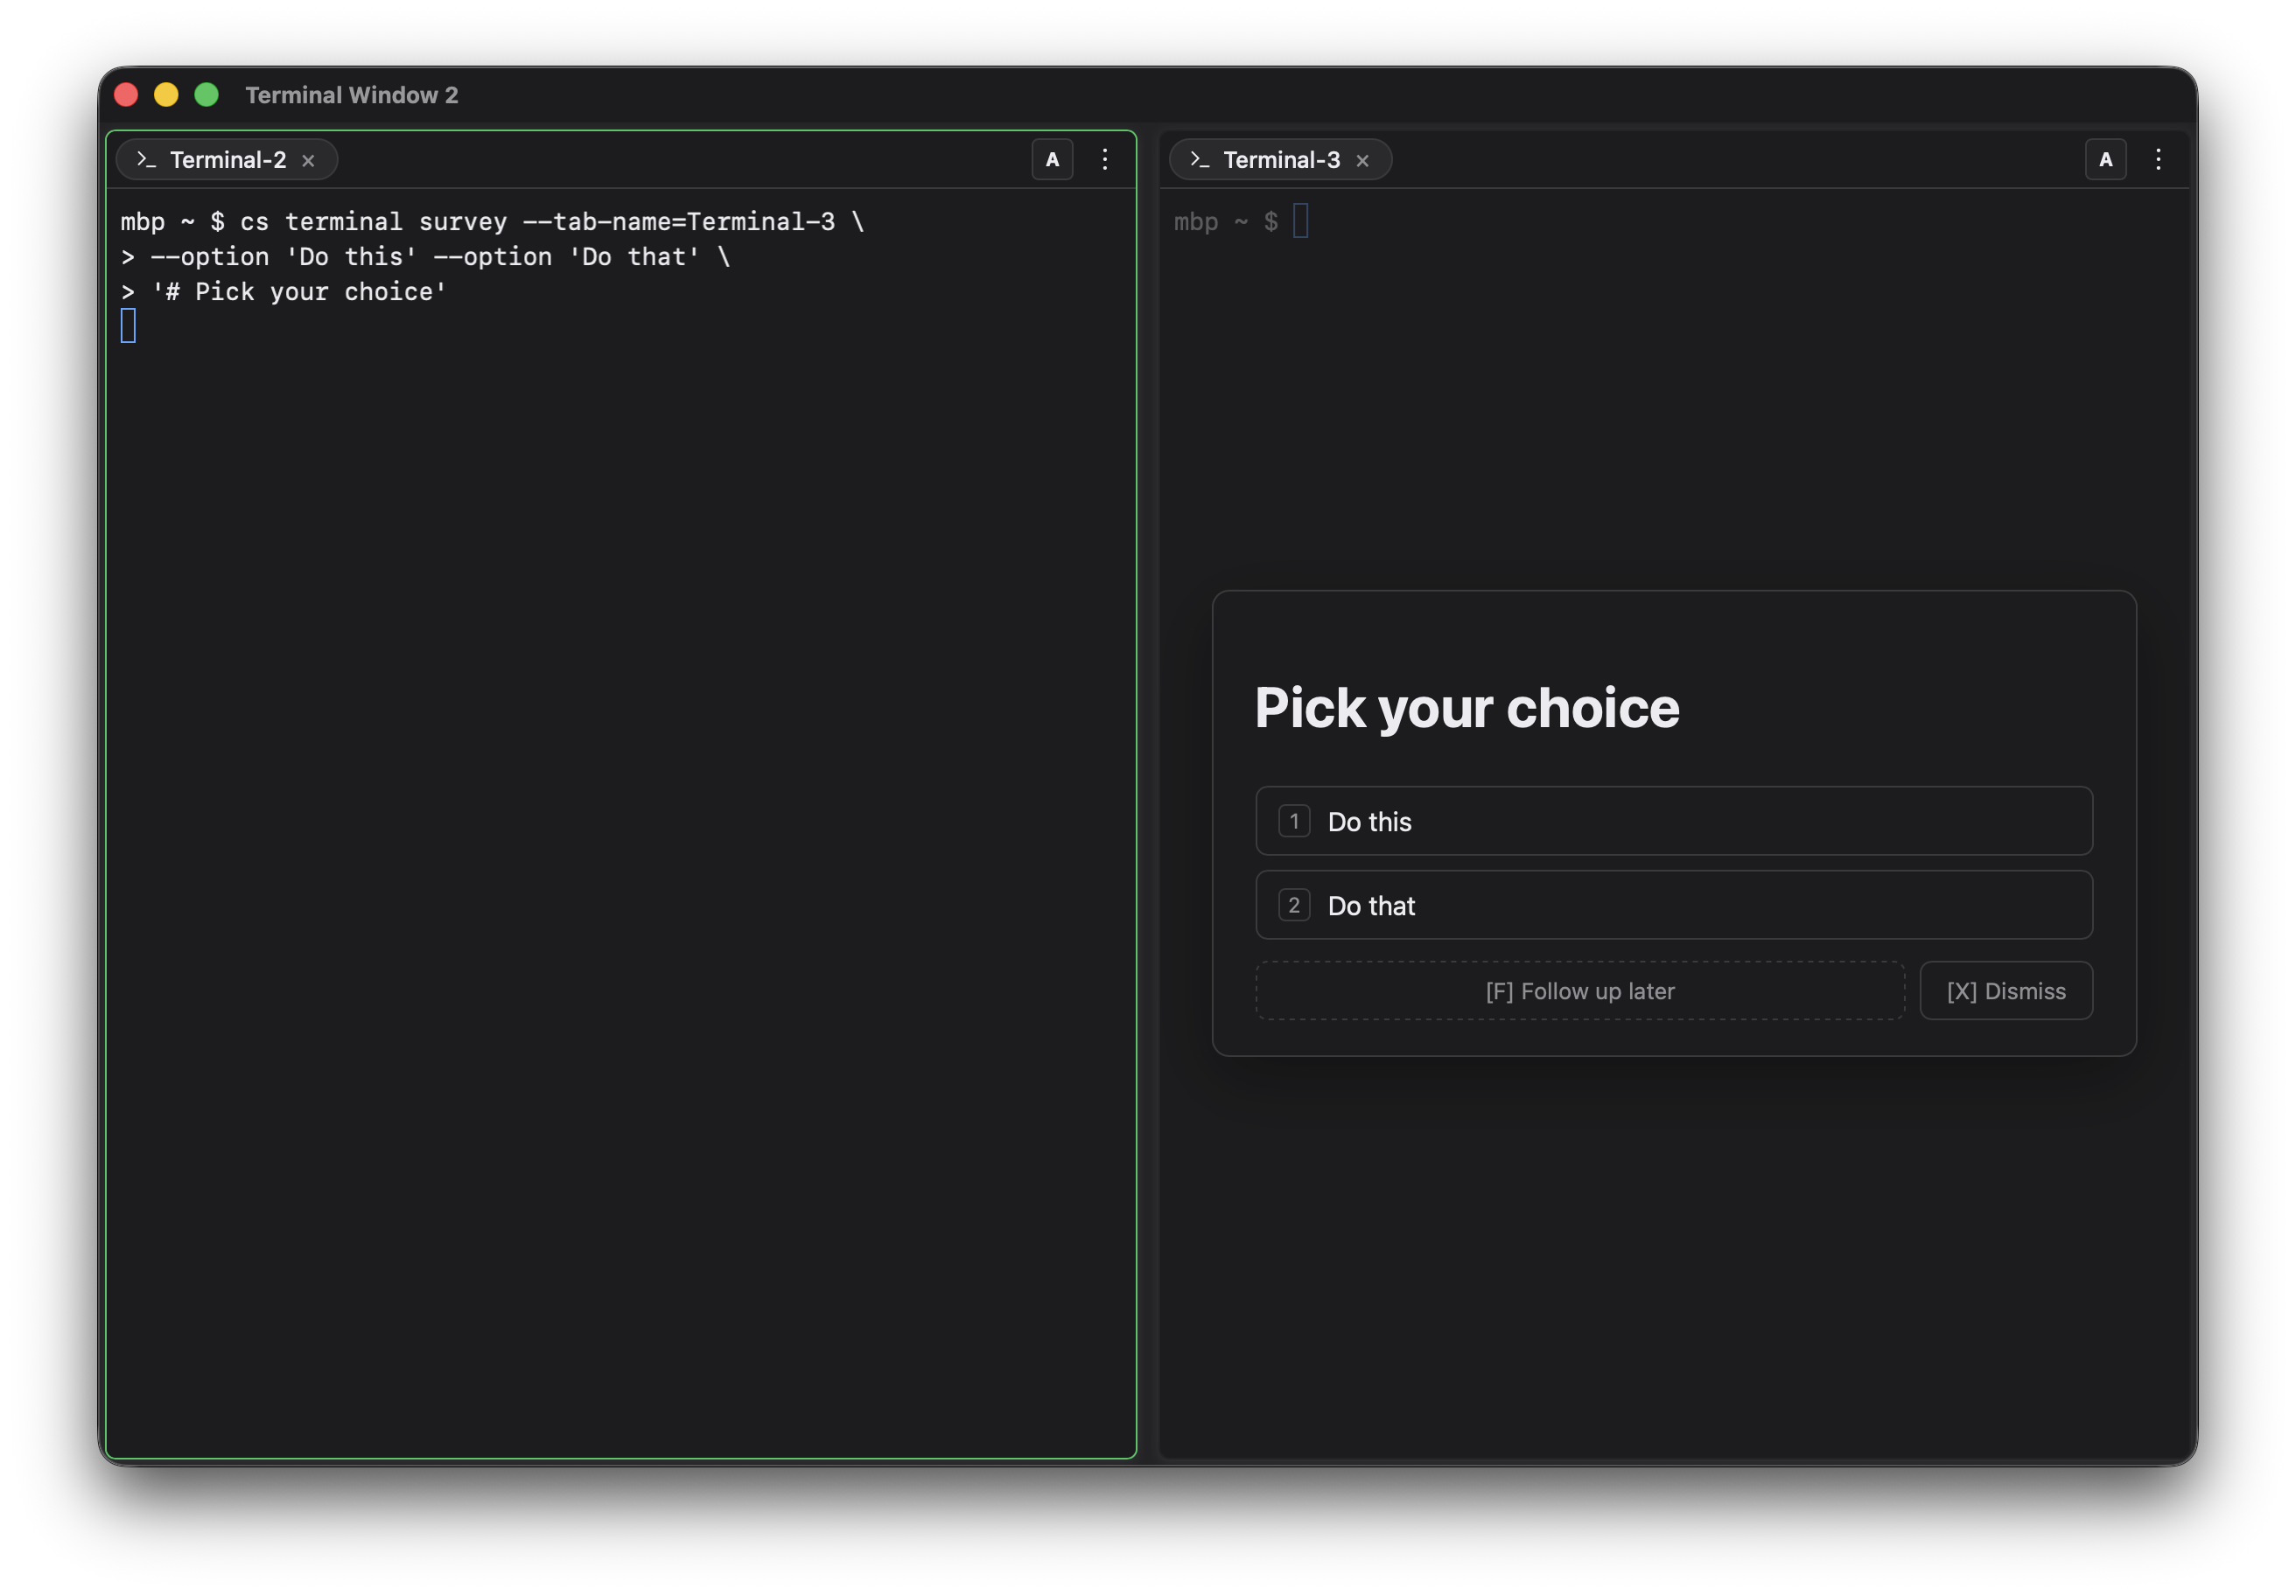
When a terminal needs more than a line, like pasting images into a remote agent or editing a longer prompt, bring up the Rich Prompt bubble over the terminal: press Cmd+Shift+P on macOS (Ctrl+Shift+P on Windows and Linux), or find "Show/Hide Rich Prompt" in the command launcher and the terminal's right-click menu. Write Markdown, paste images, and submit with Cmd+Enter; submissions are queued so writes from other terminals (cs terminal write) do not conflict with your typing. Terminals spawned with Claude, Codex, Gemini, or OpenCode automatically report the submit encoding Rich Prompt should use; custom launchers can set CHAN_AGENT to one of those lower-case names. The command-line equivalent is cs terminal write --submit=<agent>.
Copy and paste freely
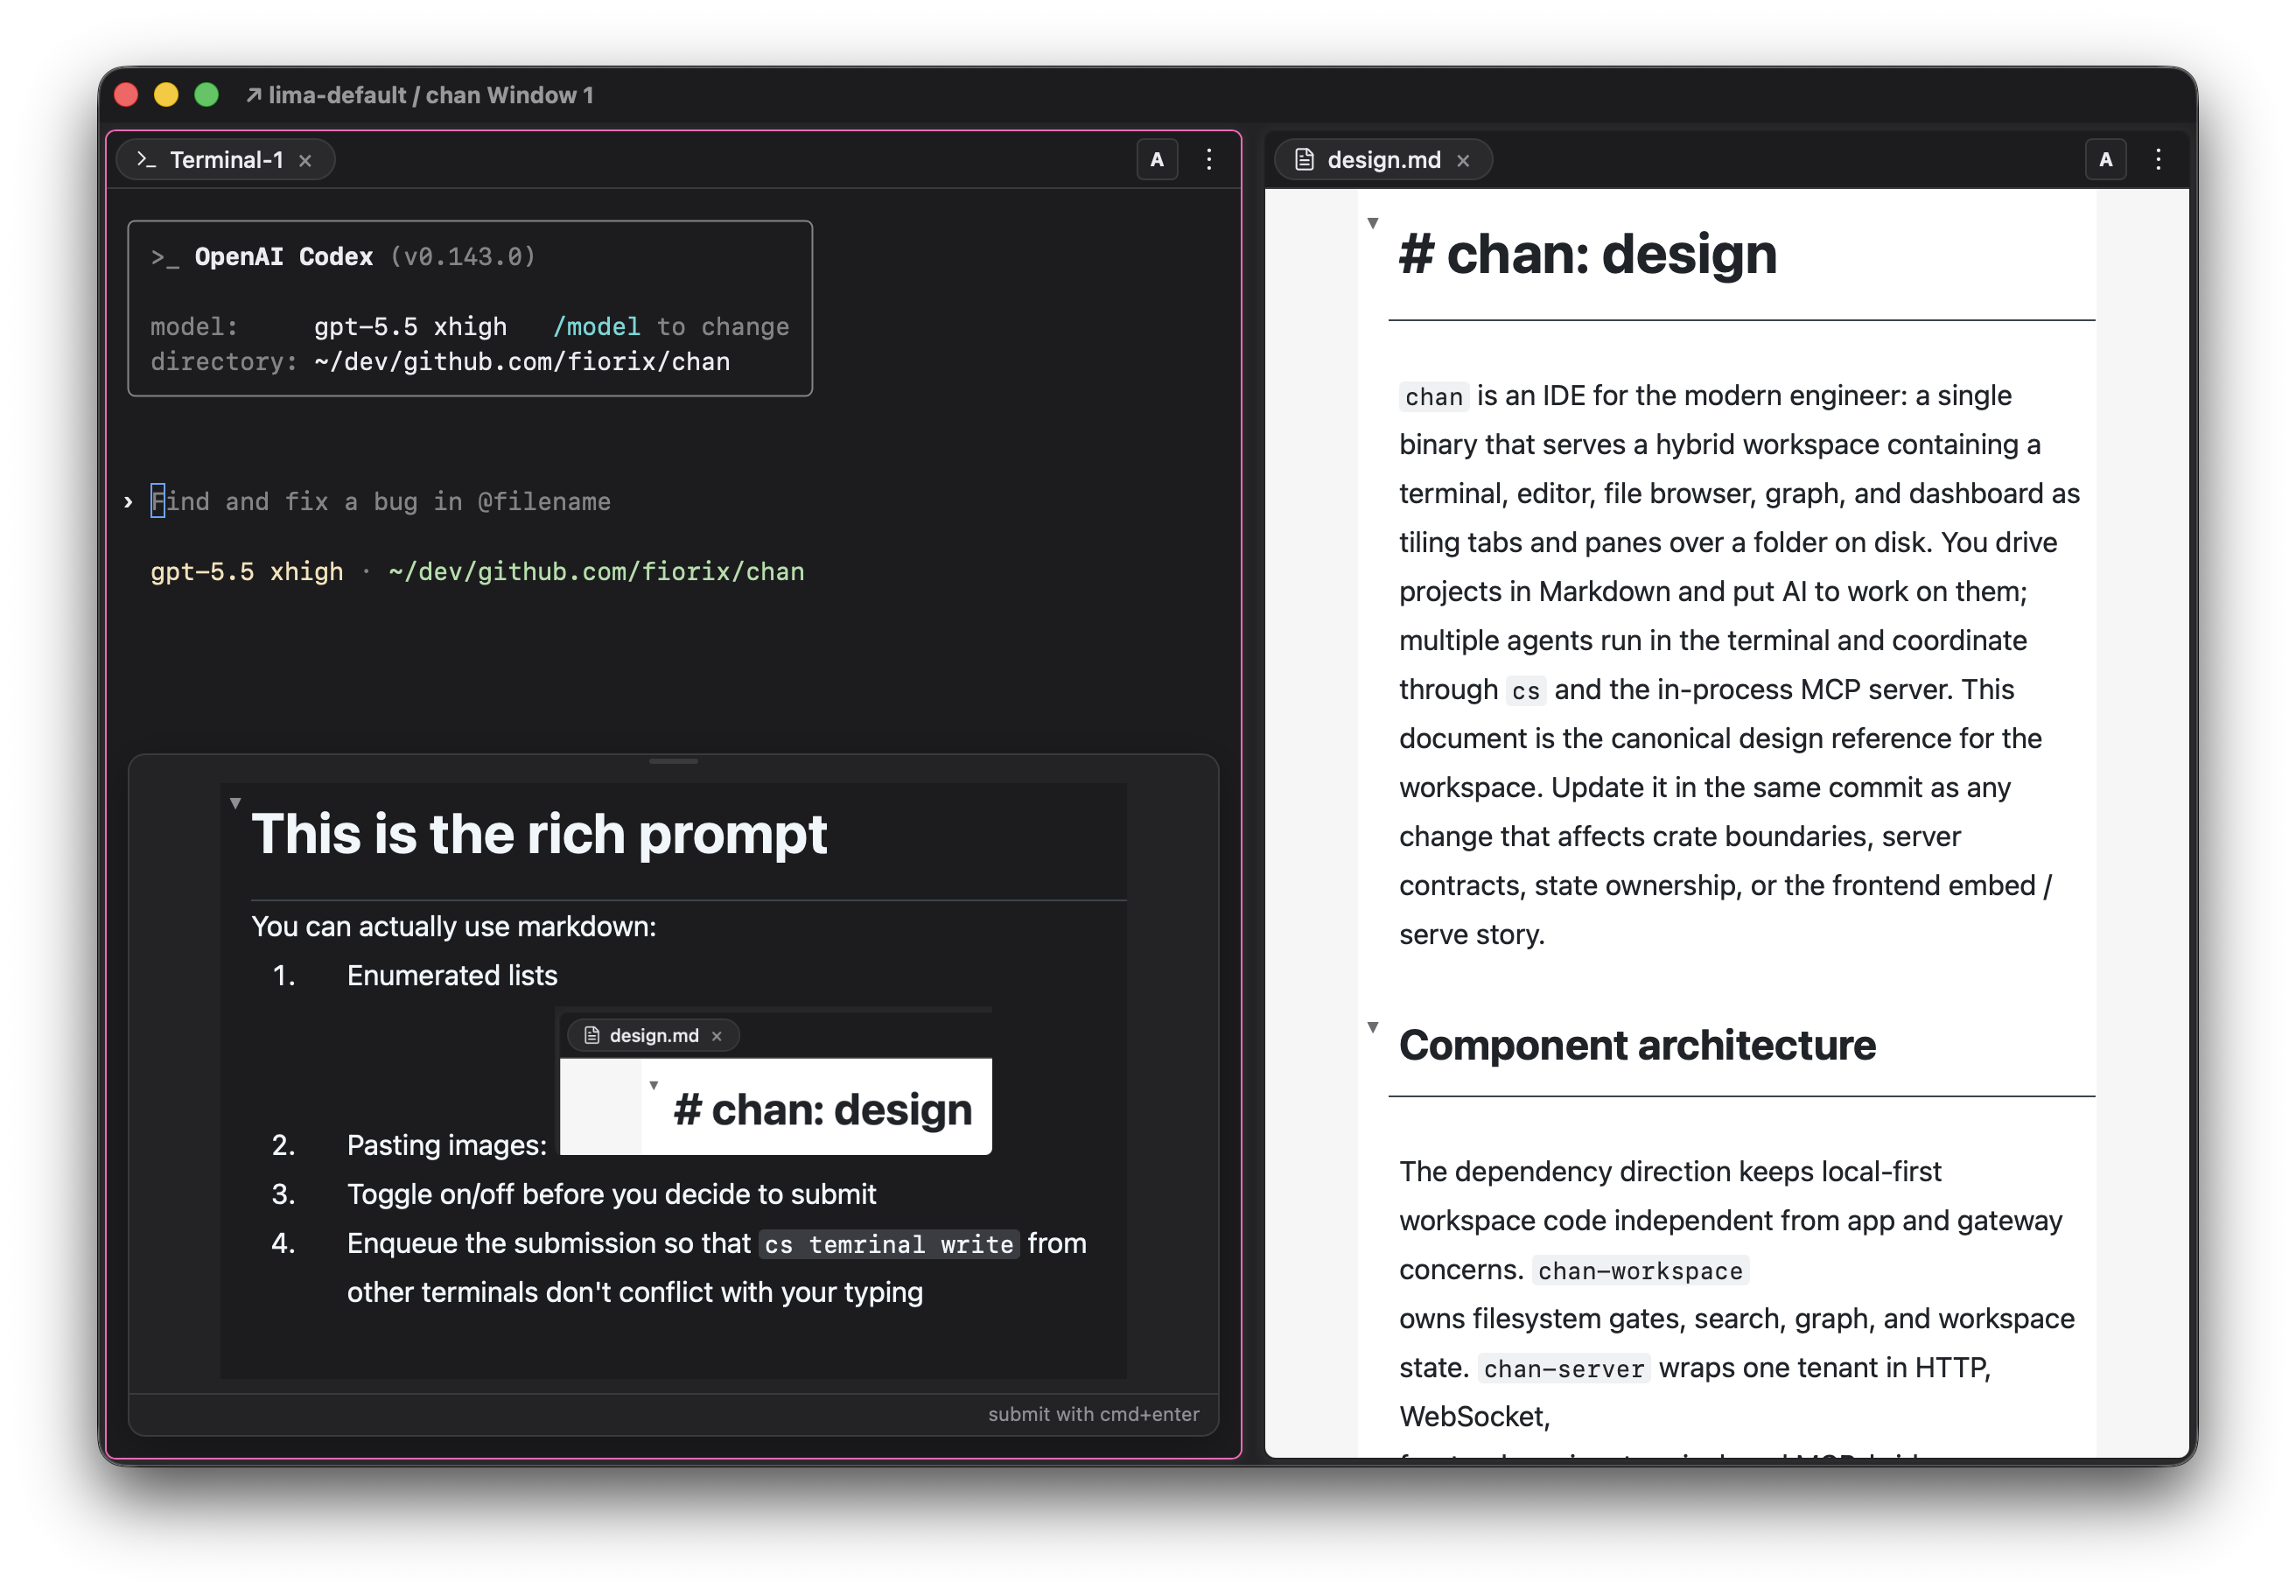
The commands cs copy and cs paste integrate every chan terminal, standalone or workspace, local or on a devserver, with your clipboard: cs copy < photo.png puts stdin on the clipboard (plain text, HTML, or an image), and cs paste > file.png writes it back out as raw bytes. The clipboard is always the one on the machine running Chan Desktop, while the command runs wherever the terminal lives: use it locally like pbcopy/pbpaste, copy on a devserver and paste into any app, or move content across devservers by copying on one and pasting on another.
Download and upload freely
Similarly, cs download {path} downloads a file or a tarball of the target directory, and cs upload {path} imports files into the target directory through a file picker. Both show the same progress UI as the Inspector, and . means the current directory. This works in local and devserver terminals alike, so files flow between your machine and any chan session.
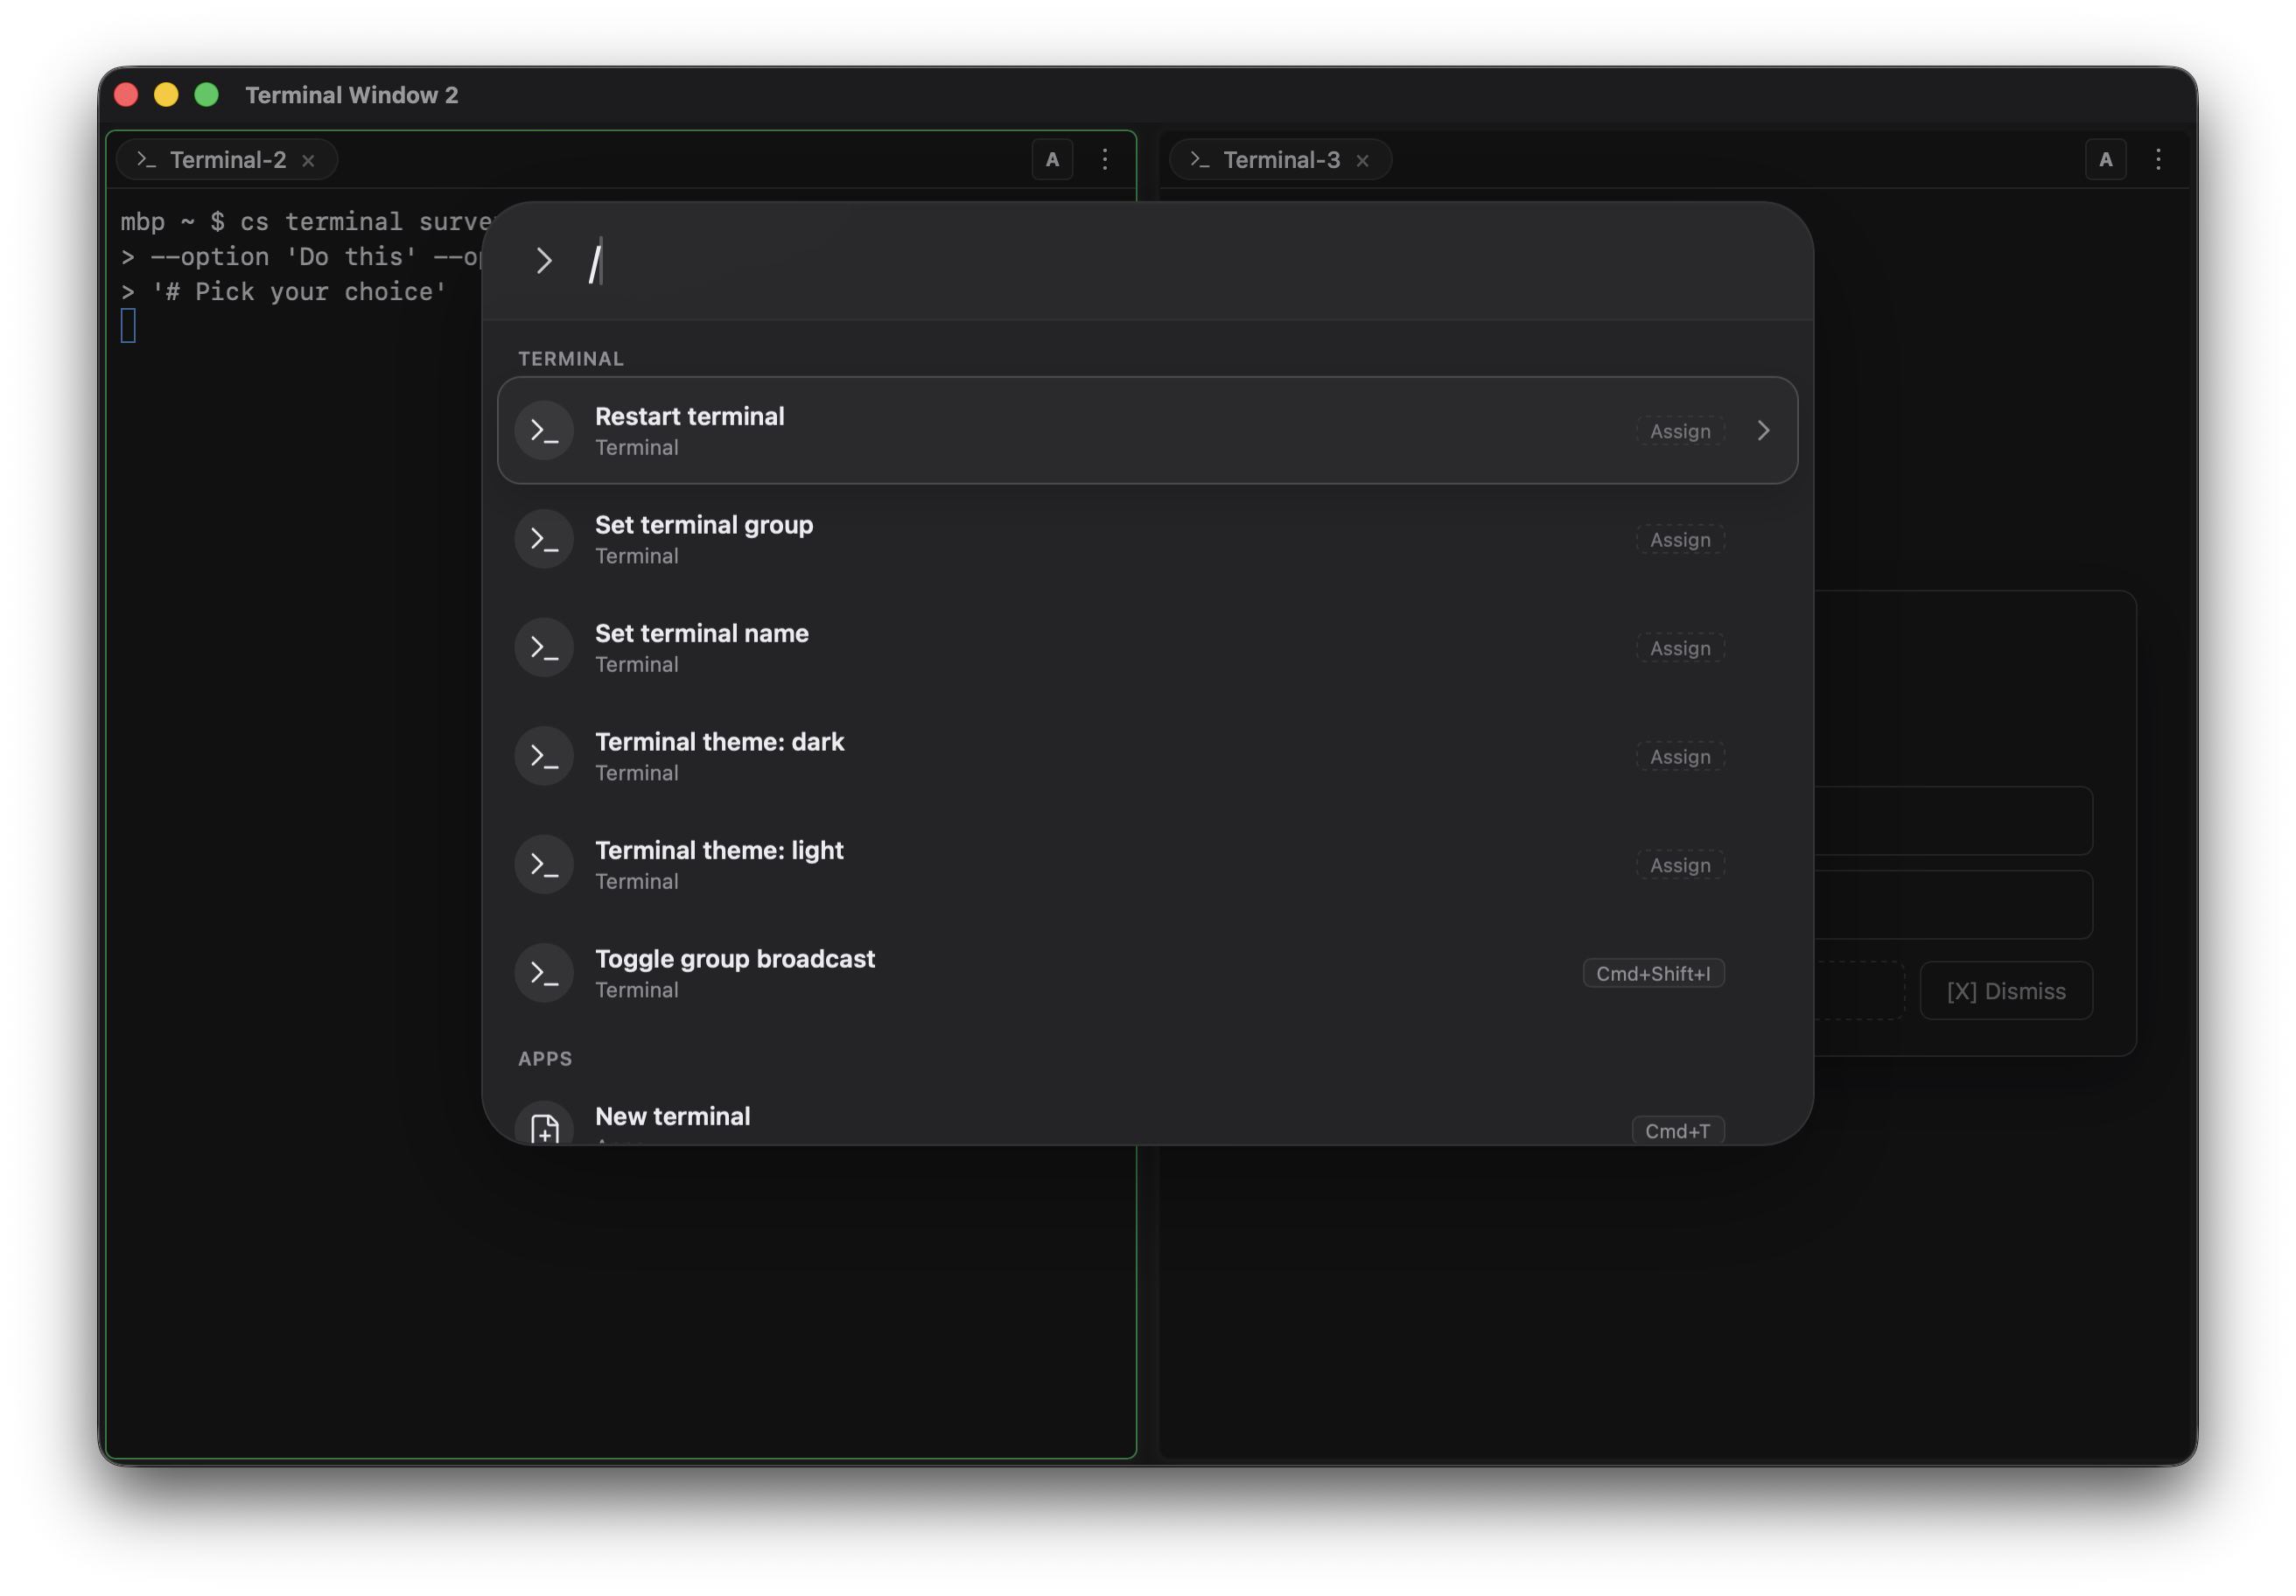
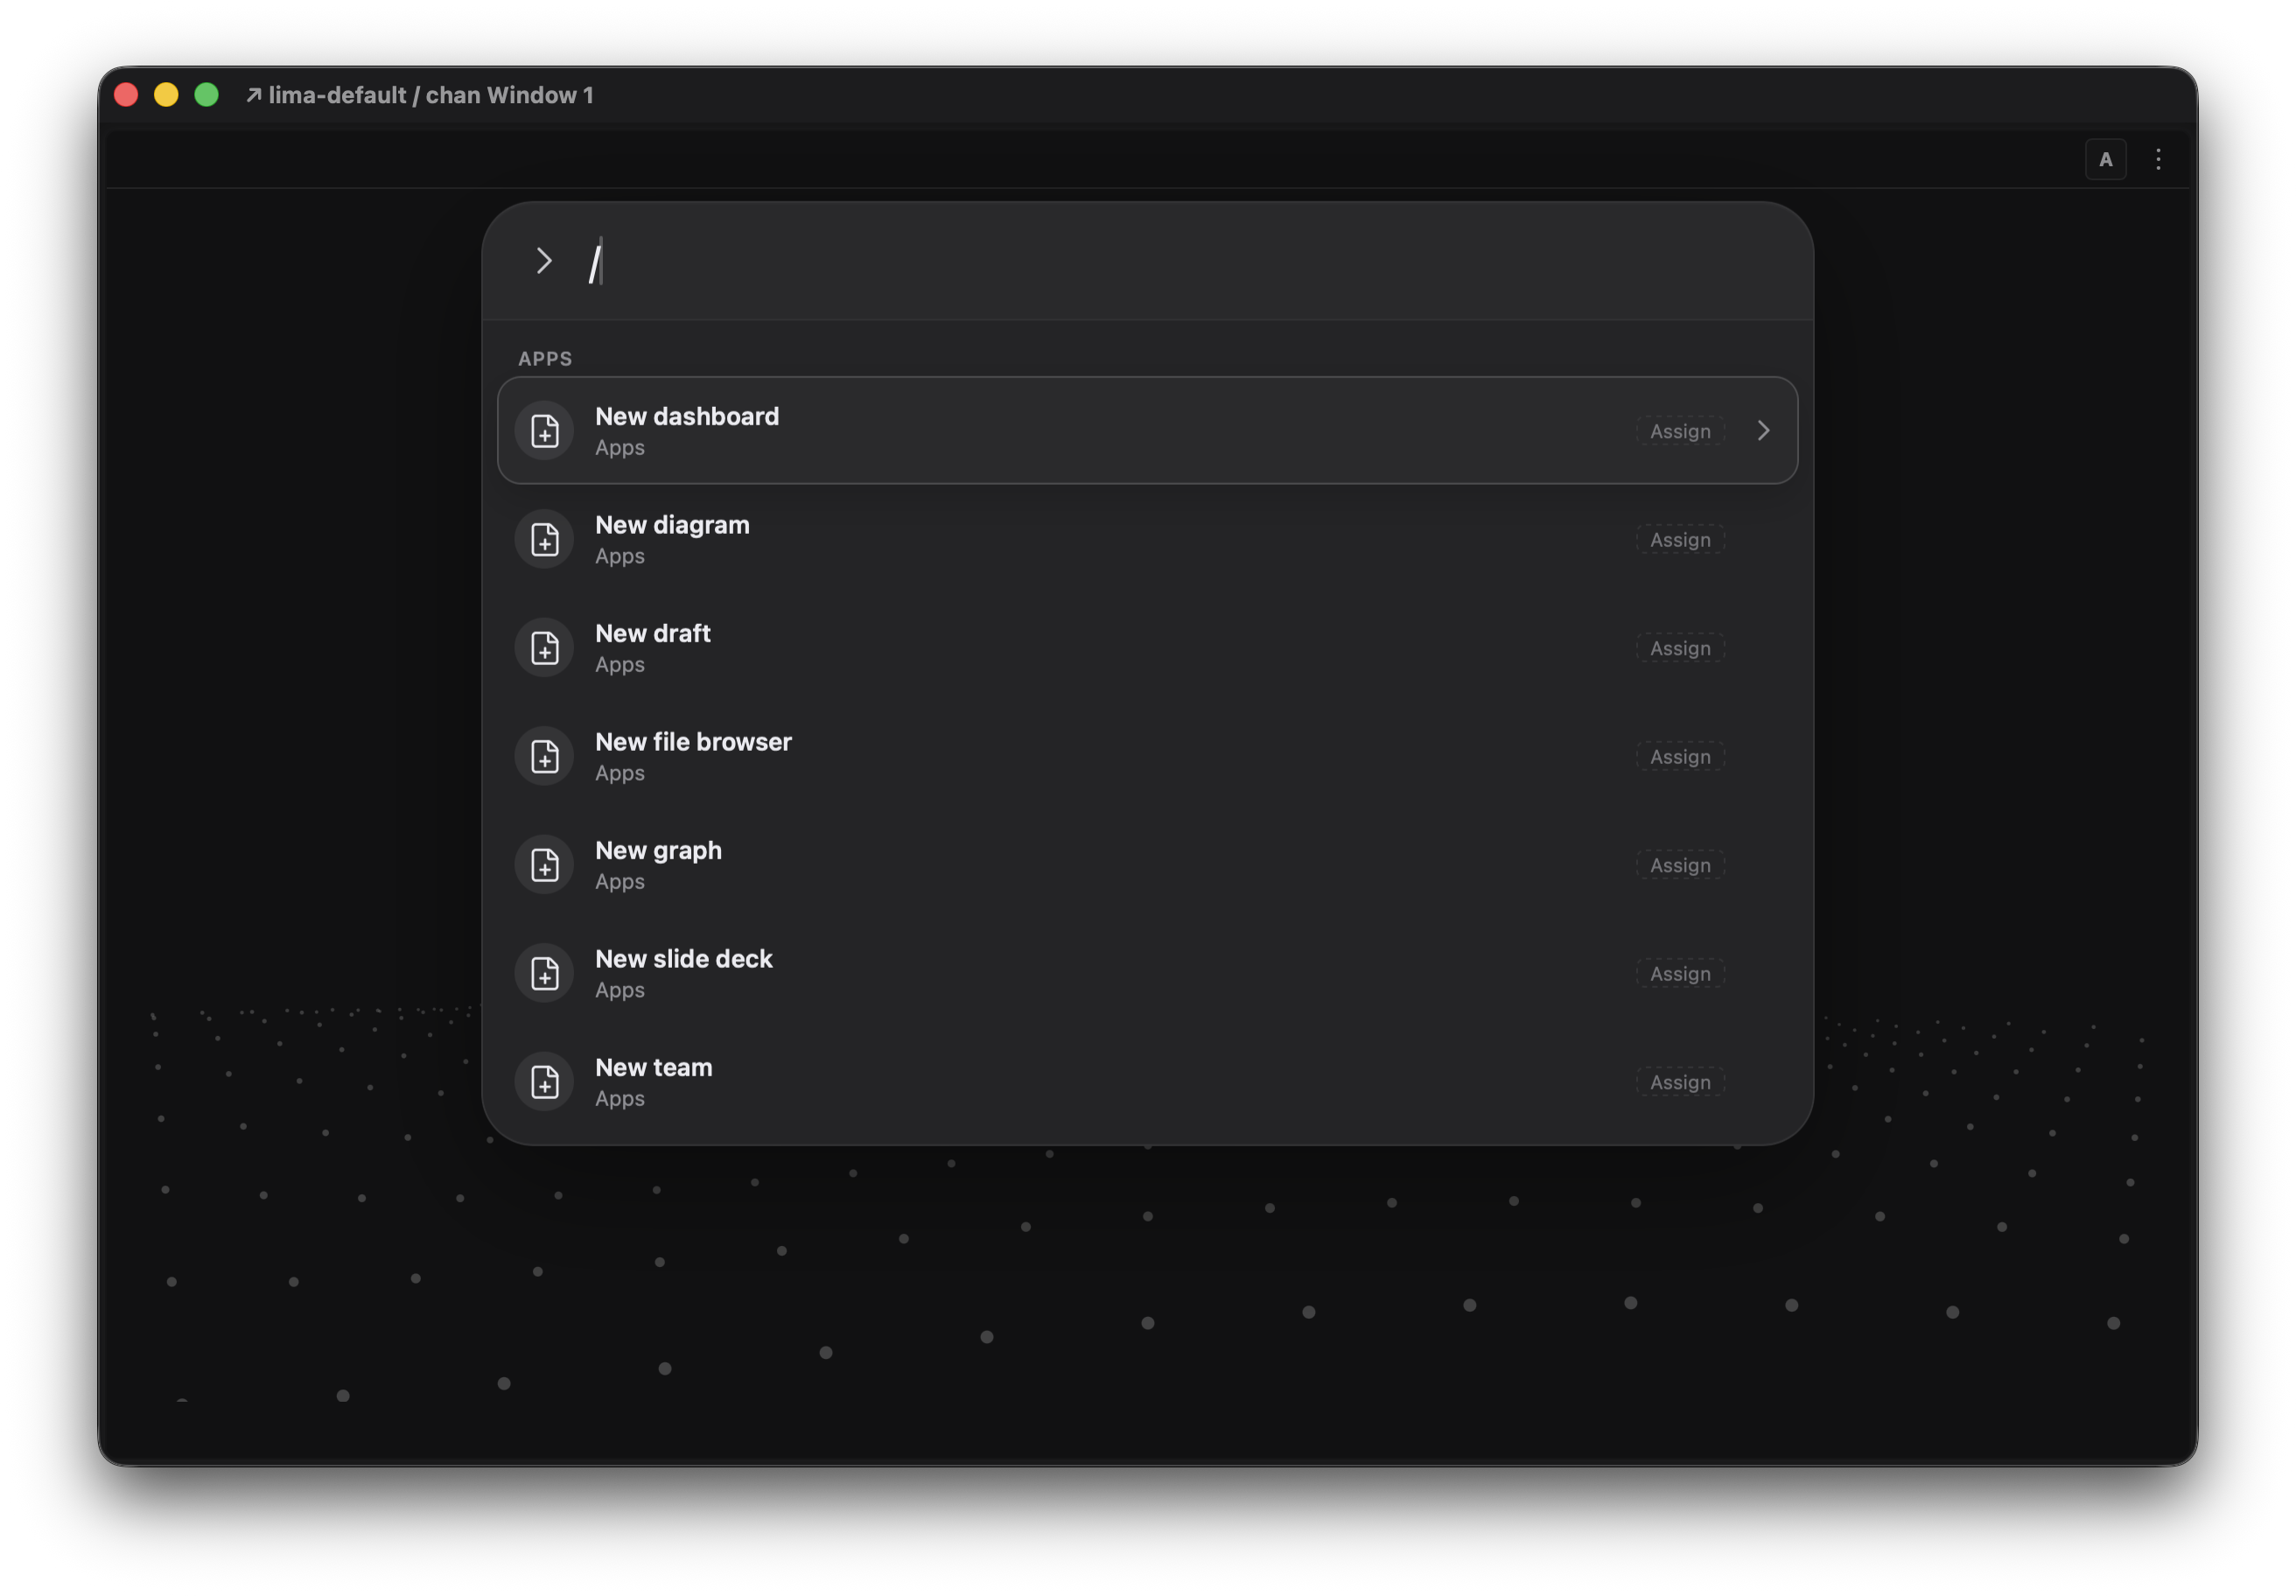
Press Cmd+K on macOS (Ctrl+Alt+K on Windows, Linux, and web) to open the command launcher, or pick Commands from the pane's hamburger menu. The launcher opens as a search box; start typing to reveal the list of commands, with the best matches on top and every row showing its keyboard shortcut. Not sure what to type? Type /: it matches nothing, so the launcher shows the full catalog instead. The launcher is contextual: on an empty pane you get the apps and everything else available, and inside an app that app's commands come first.
A workspace is a directory that chan treats as a project:
- The content is indexed for search.
- Markdown files get autocompletion for linking to each other.
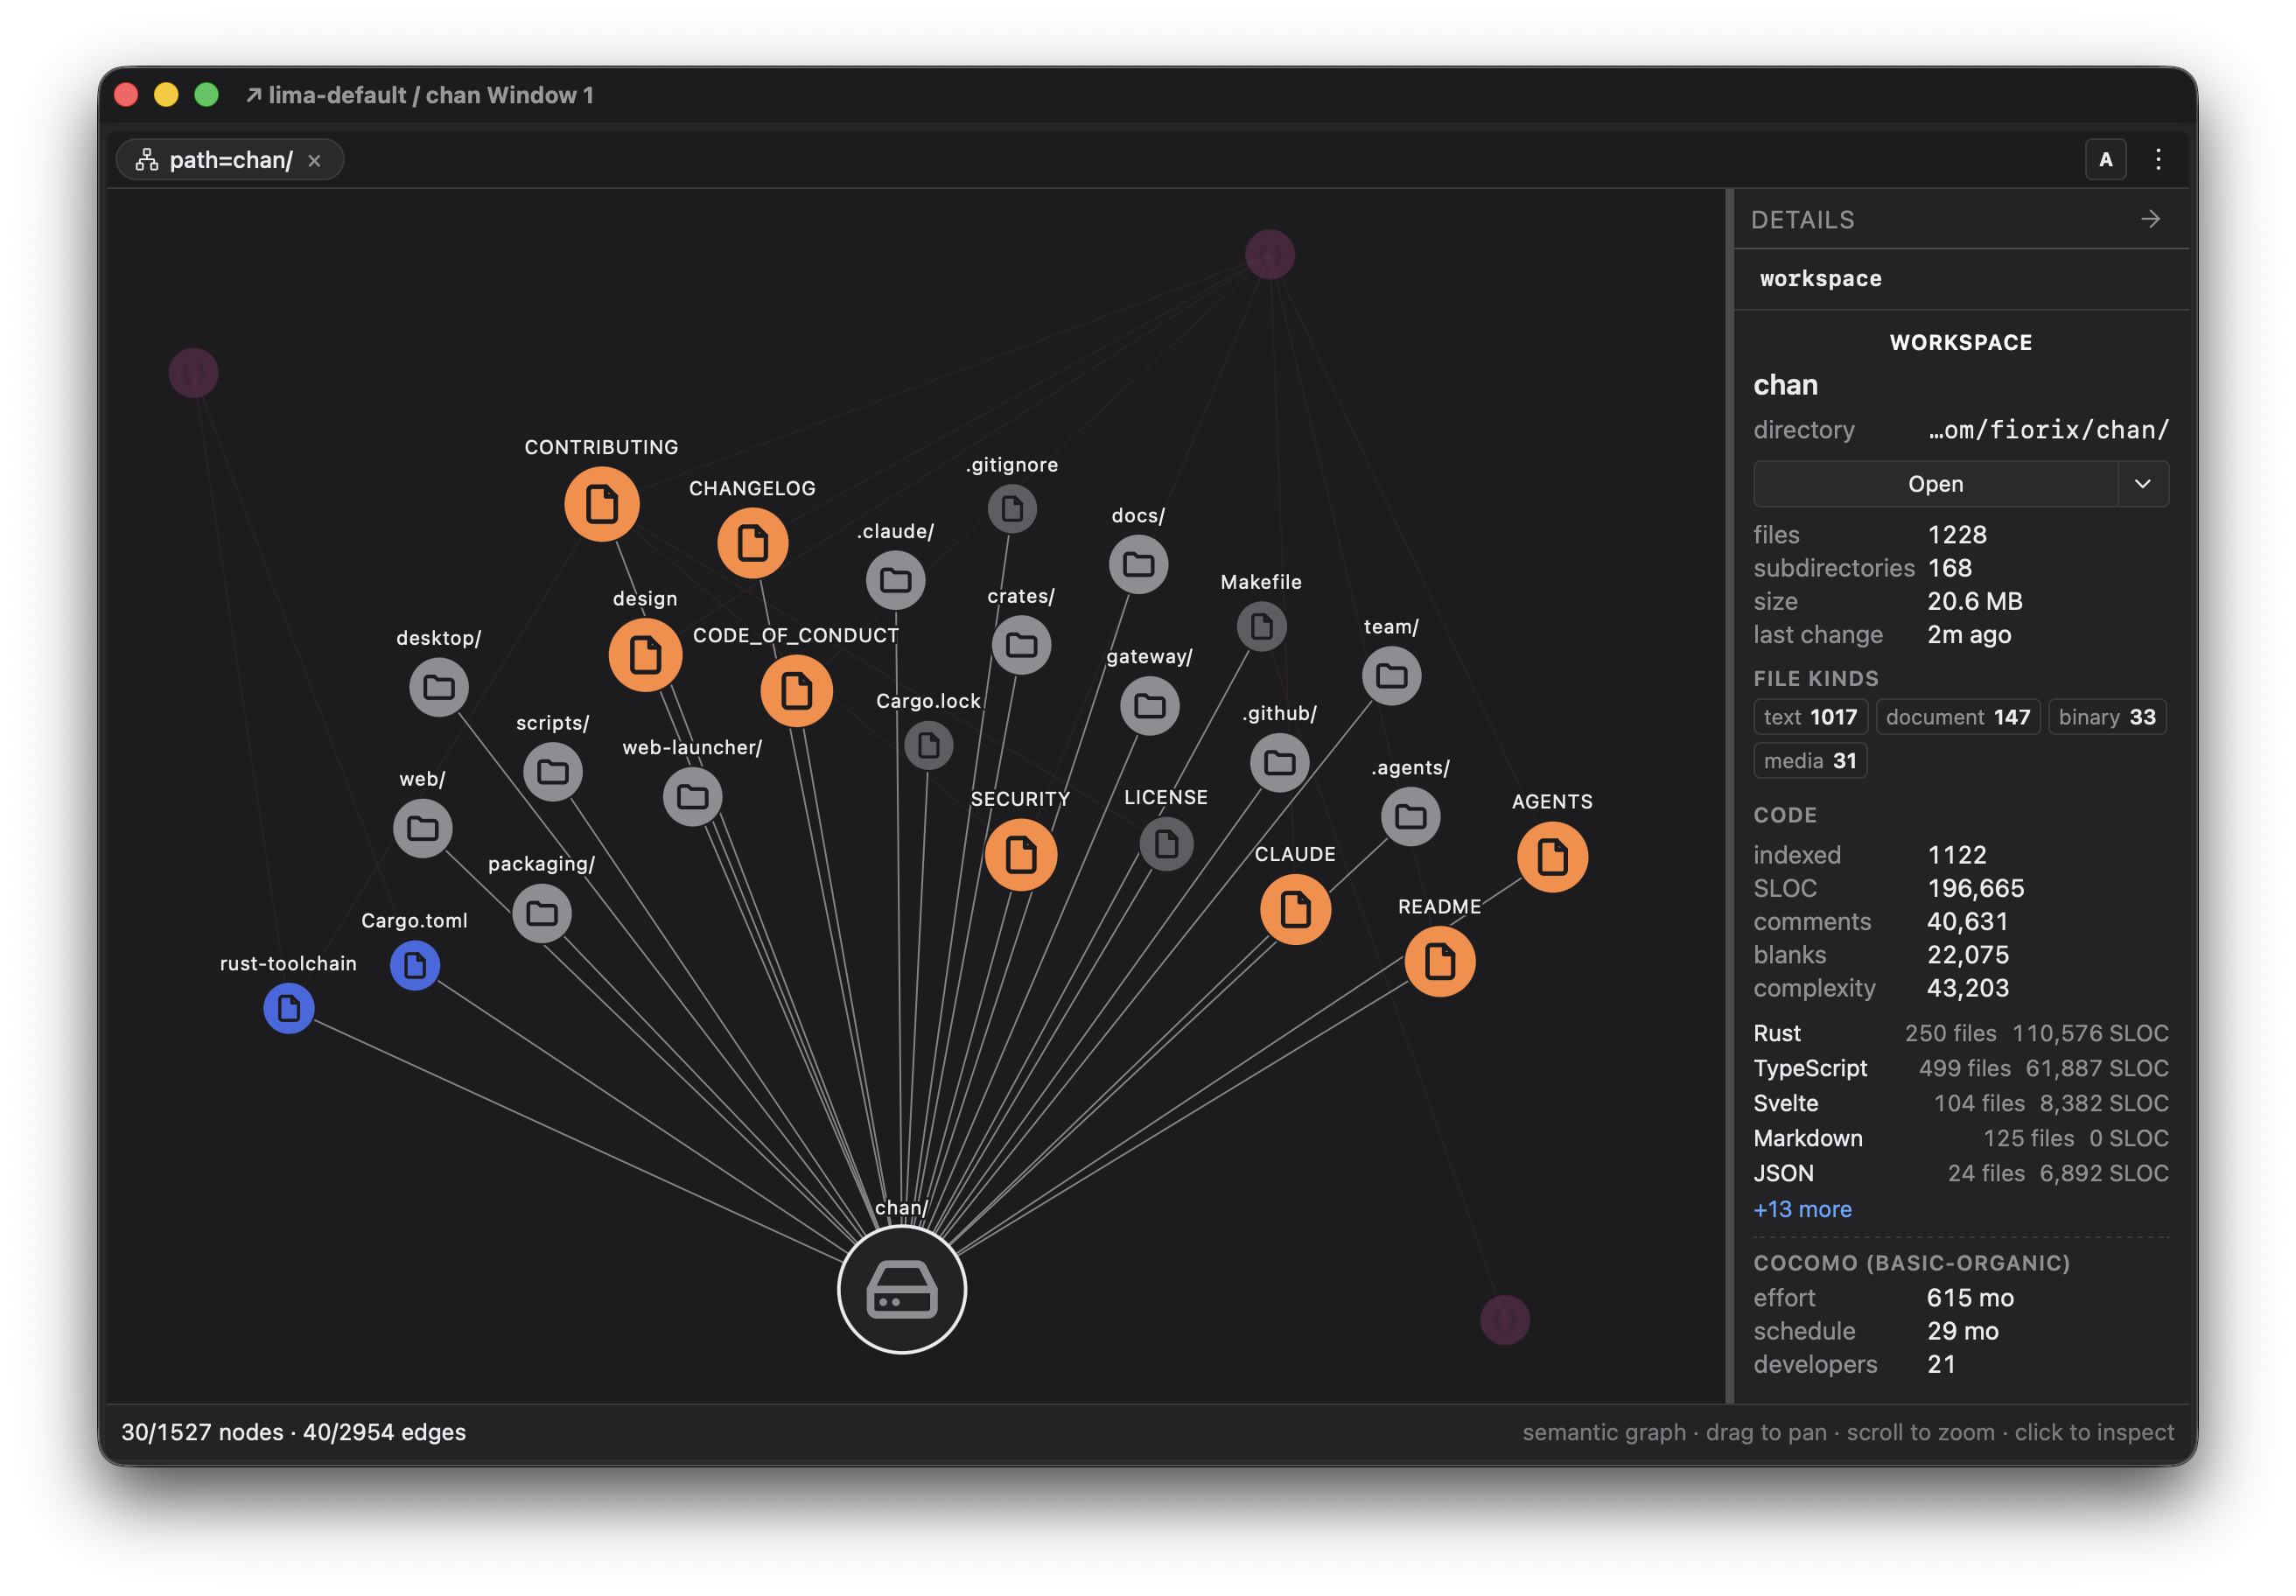
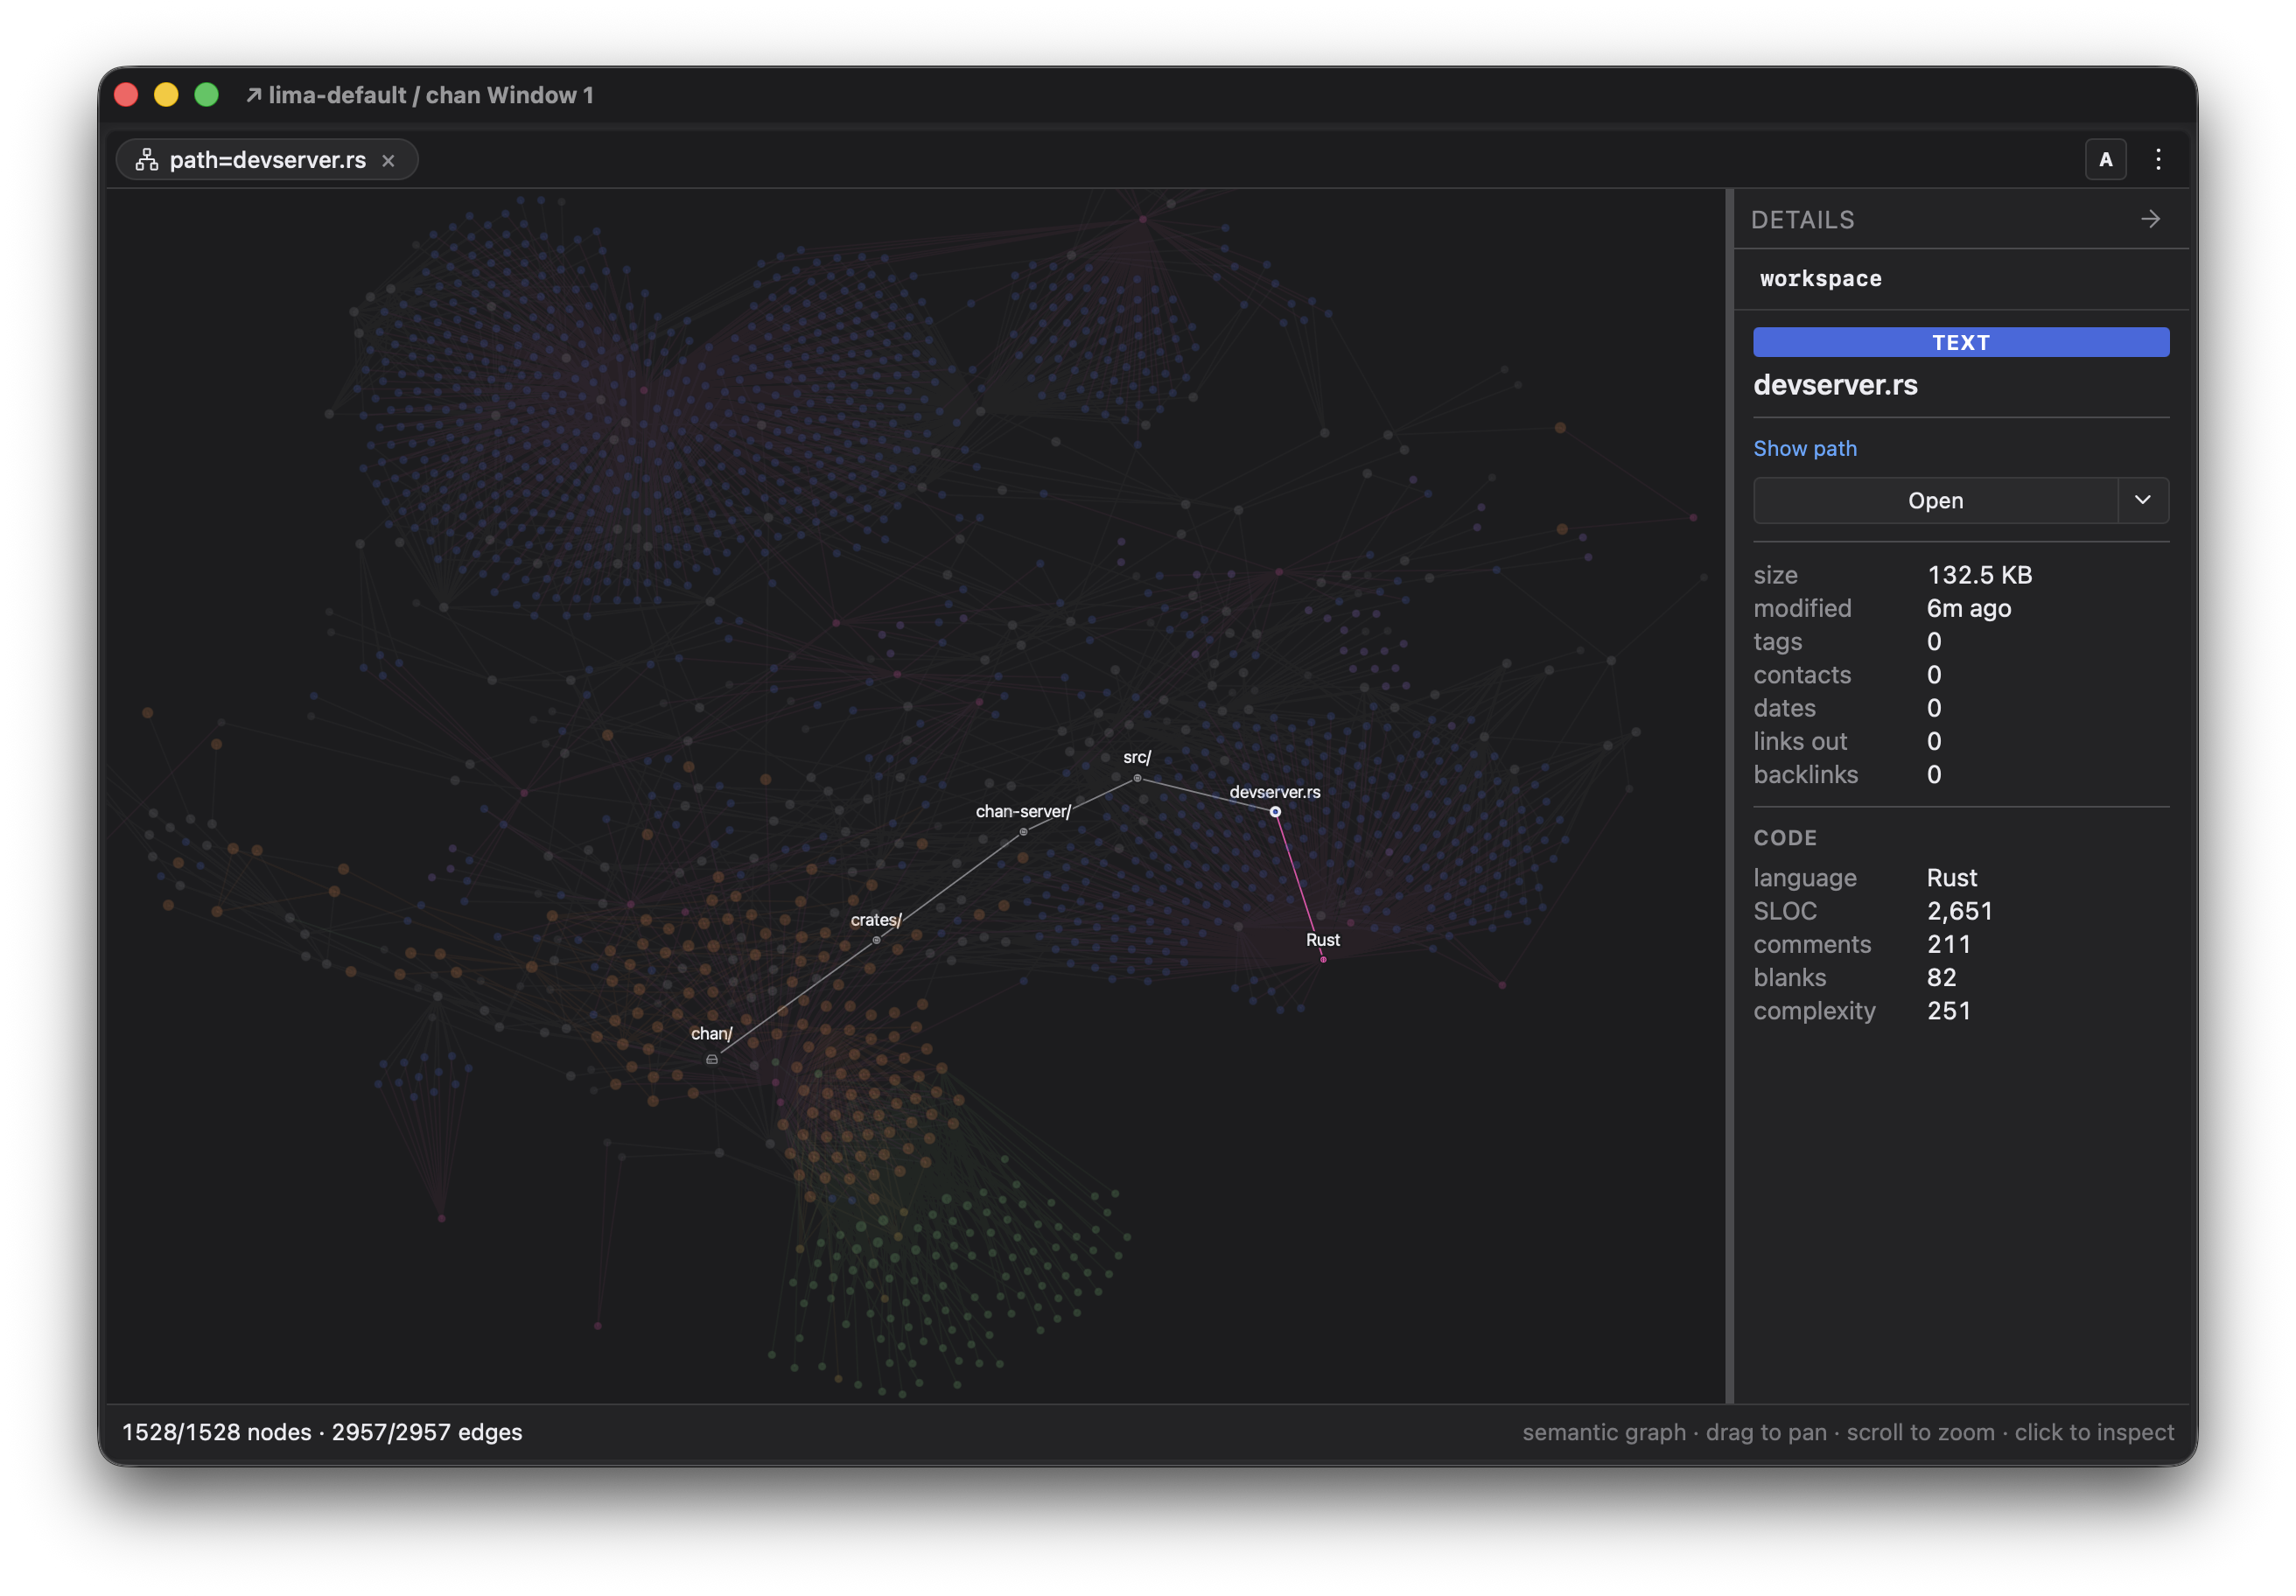
- chan builds a project graph from the links, tags, and mentions in your documents, plus language and size stats for the code.
- Each workspace keeps its own set of windows, panes, and tabs.
Any directory can become a workspace. For a first try, start from an existing git repo. In a chan terminal:
$git clone https://github.com/you/your-project
$chan open ./your-project
chan open expects the root of a repository. To open a subdirectory inside one, add --here.
chan open {path} works anywhere chan runs: in a local terminal it registers the workspace on this machine (the same thing the New workspace button does), and in a devserver terminal it registers the workspace on that devserver, which then shows up under the devserver's card on the Computers screen.
Back on the Computers screen, the new workspace appears with its power toggle On: the workspace is alive, indexed, and keeping the state of your windows, panes, and tabs. Click New window of your-project and the real power of chan begins:
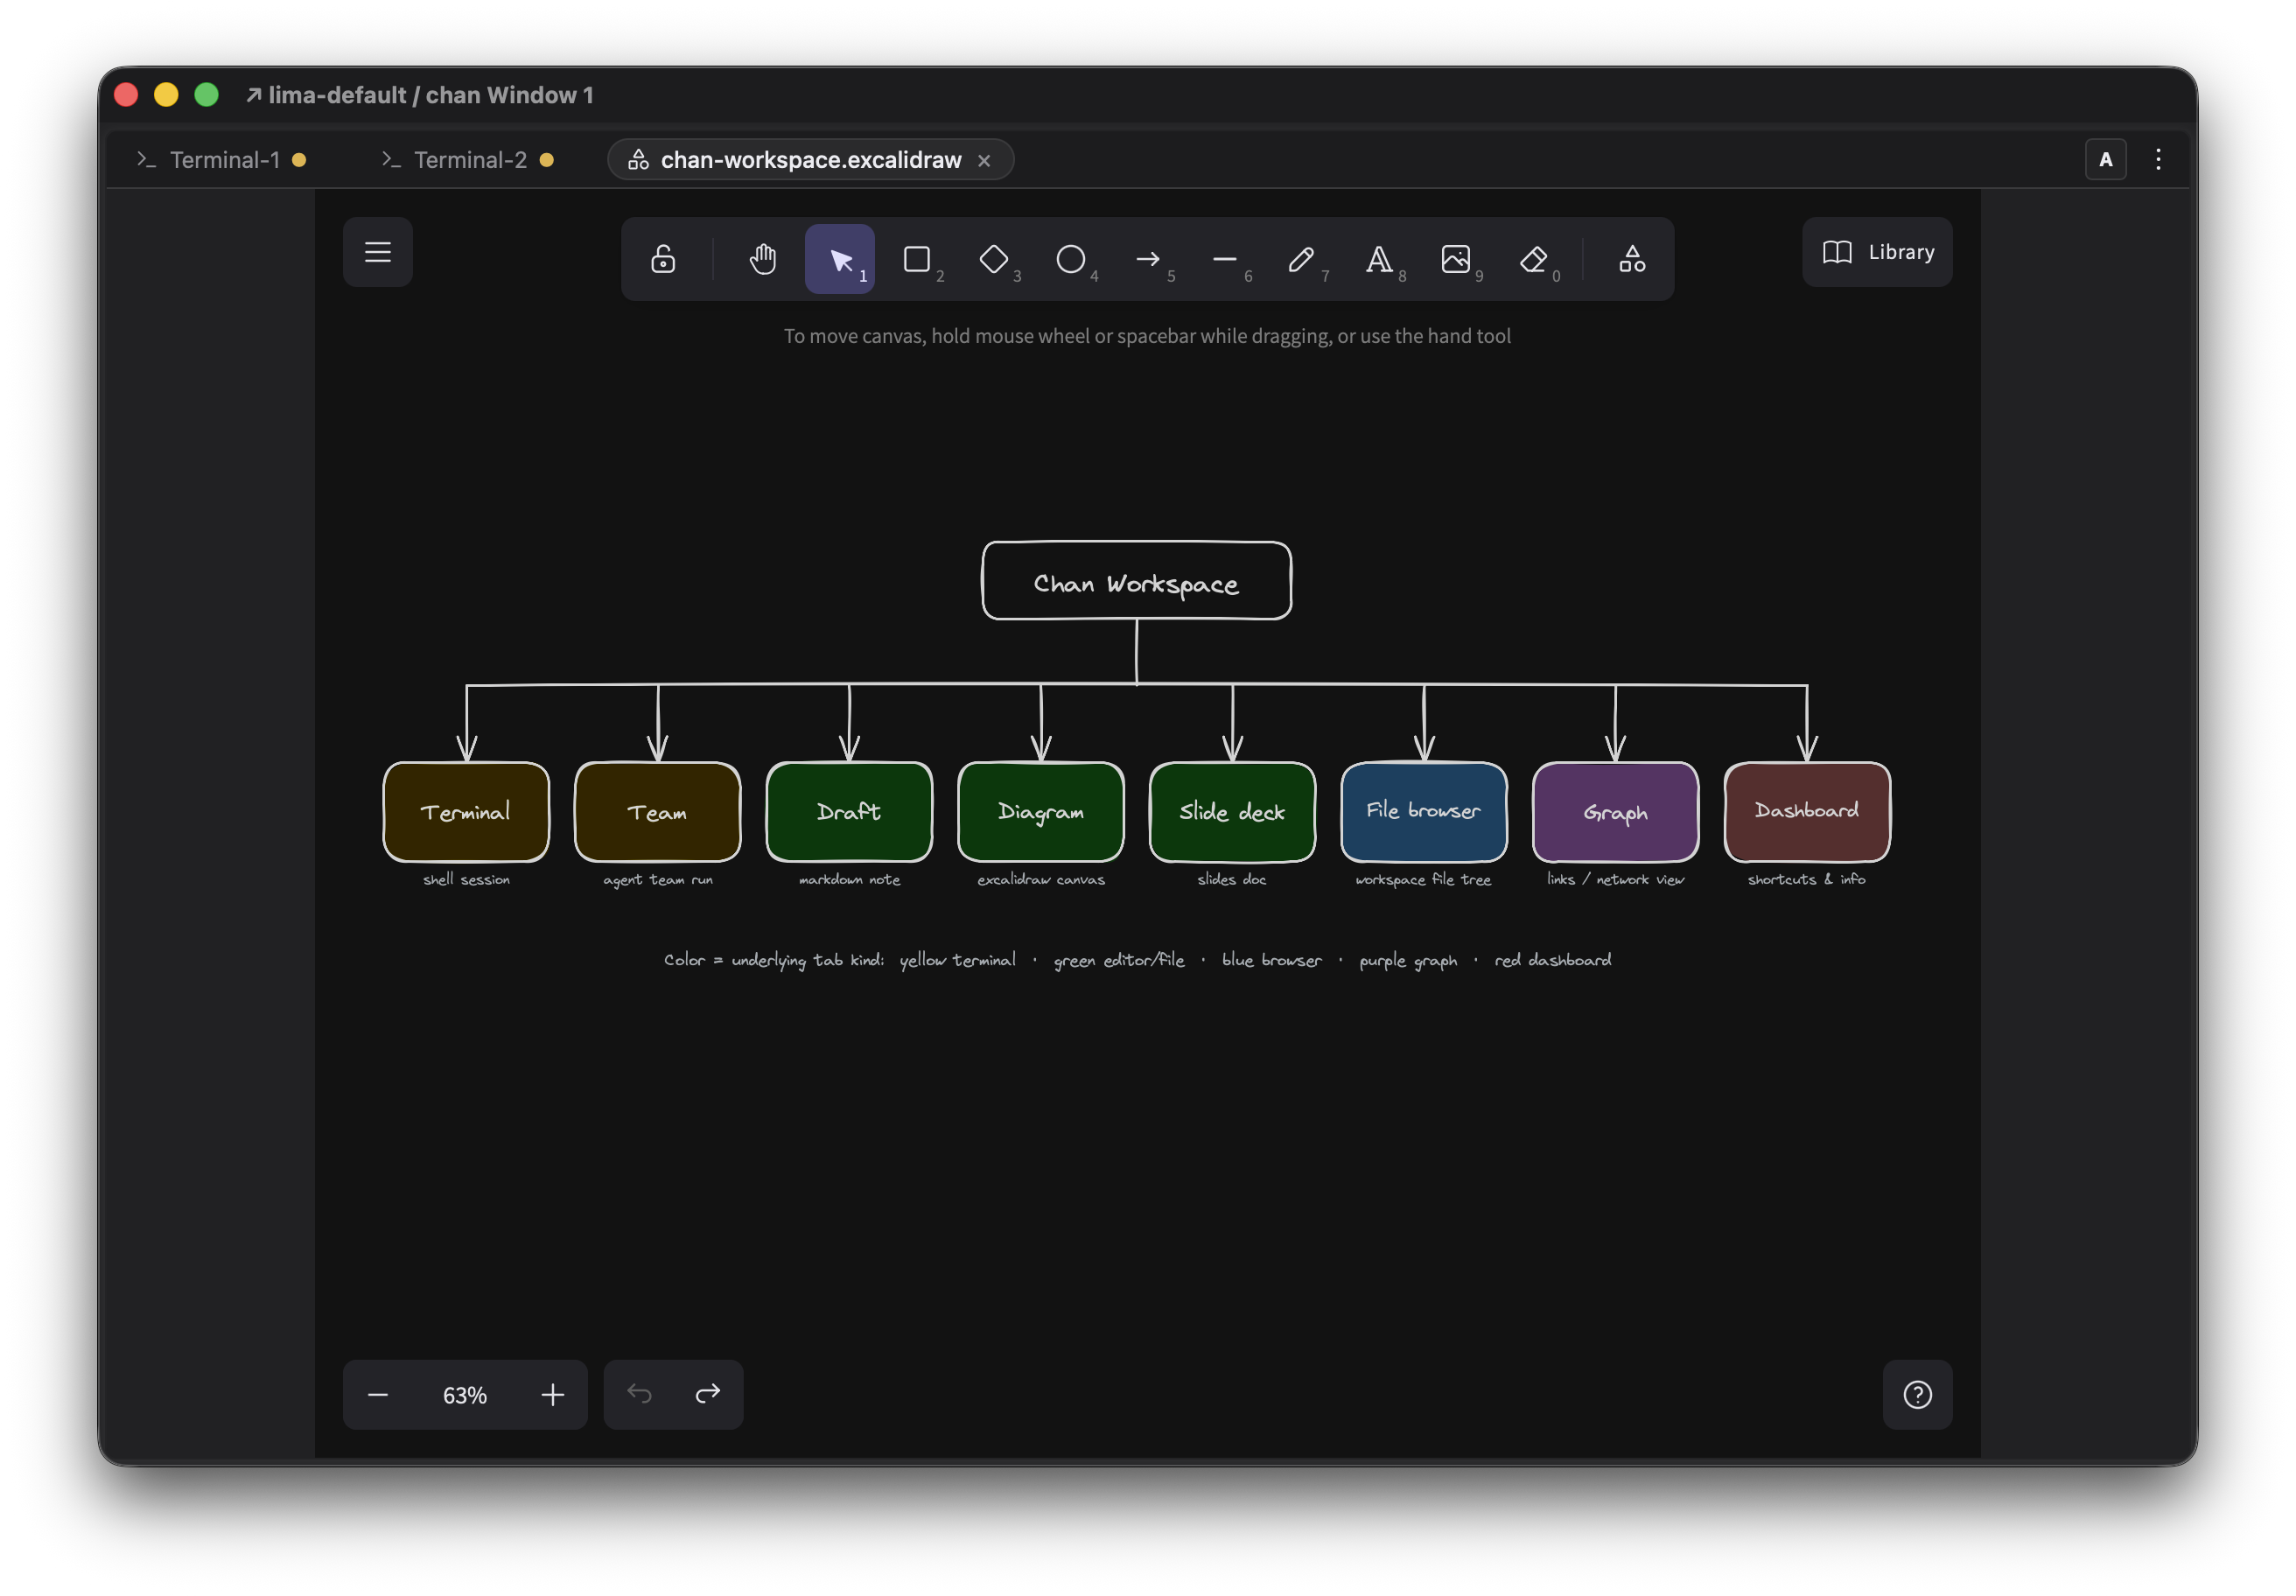
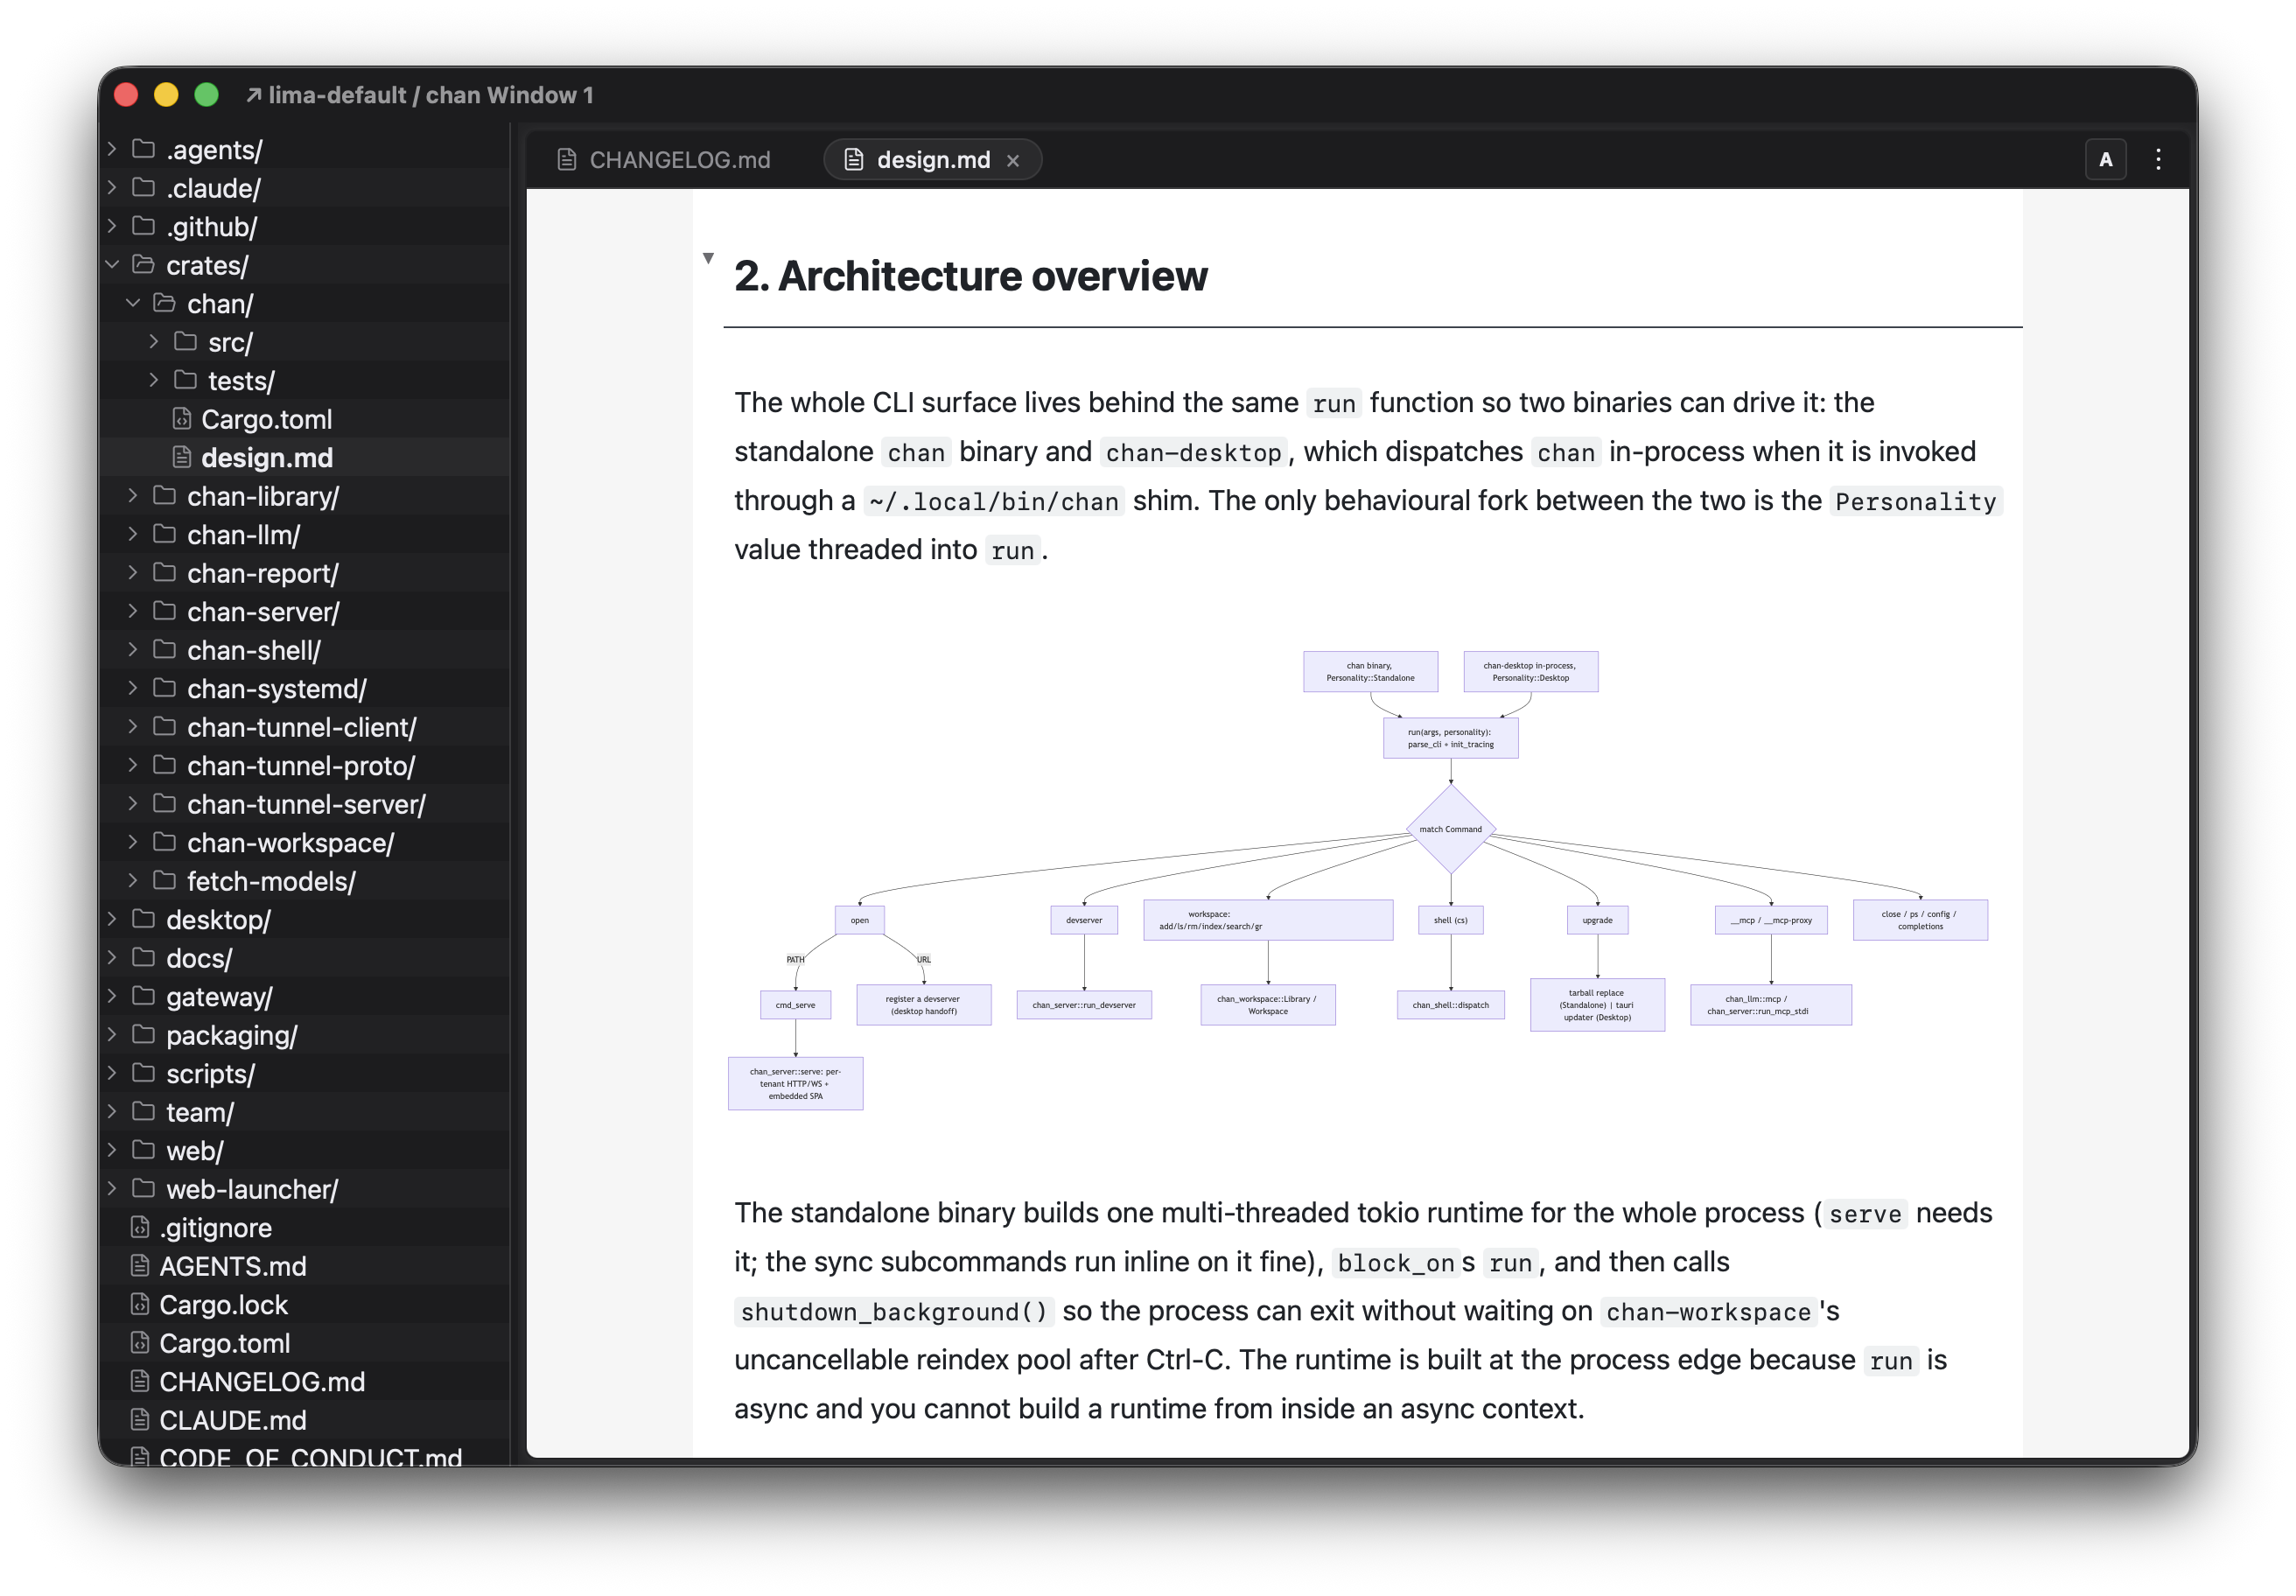
- The pane's hamburger menu lists the built-in apps: dashboard, diagram, draft, file browser, graph, slide deck, team, and terminal.
- The command launcher works here too, with the workspace's commands first.
You can quit and reopen Chan Desktop and your windows and layouts are restored. Local terminals keep their layout, but their shells are restarted.
Everything you can do in Chan Desktop, standalone terminals and workspaces alike, also works on a remote machine through Chan Devserver.
The devserver runs chan on another machine, or in an isolated environment on this one, and lets Chan Desktop connect to it. Sessions live on the server, so you can disconnect and reconnect while terminals and agents keep running.
Pick where to run it:
- On macOS: a lima-vm, or a remote machine via ssh.
- On Windows: a WSL sandbox, or a remote machine via ssh.
- On Linux: an isolated devserver on the same machine (all platforms support
CHAN_HOME=/path), a docker container, or a remote machine via ssh.
On the target system, install chan:
$curl -fsSL https://chan.app/install.sh | sh
This installs ~/.local/bin/chan and the symlink cs -> chan in the same directory. Start the devserver:
$~/.local/bin/chan devserver --start
This installs the devserver as a background service listening on localhost:8787, using the default service manager for your platform:
- On Linux it uses systemd: a user-scoped service that survives logout once linger is on (chan enables it, or asks you to run
sudo loginctl enable-linger). - On macOS it uses launchd: the service runs while you are logged in.
- On Windows it uses chan's own daemon mode, which works on all platforms.
- You can override the choice with
--service=[auto,none,chan,systemd,launchd]. The action flags are--start,--stop,--status,--restart, and--join. - Without an action flag,
chan devserverruns in the foreground.
Now add the devserver to Chan Desktop:
- On the Computers screen, click Add devserver at the bottom.
- Fill in Name, Address, and Connect script. Examples:
- lima-vm from macOS:
- Address:
localhost:8787 - Script:
limactl shell default ~/.local/bin/chan devserver --join
- Address:
- WSL from Windows:
- Address:
localhost:8787 - Script:
wsl ~/.local/bin/chan devserver --join
- Address:
- Remote machine via ssh:
- Address:
localhost:9901 - Script:
ssh user@host -L 9901:localhost:8787 ~/.local/bin/chan devserver --join
- Address:
- lima-vm from macOS:
- Optionally tick Auto-hide control terminal on success so the terminal running the connect script hides itself once connected.
- Click Add devserver, then click Connect on the machine's row.
Once connected, remote terminals and workspaces behave like local ones: run chan open {path} in a devserver terminal to create a workspace on that machine. Disconnecting keeps the remote sessions alive and running; reconnect and pick up where you left off.
The clipboard and file transfer work across the connection too: see Copy and paste freely and Download and upload freely in the Terminals section.
On Linux devservers you can even restart the devserver process without losing your shells: the PTY file descriptors are parked in the systemd fdstore while the devserver restarts, then loaded back up, so your agents continue working and your terminals are always alive.
Chan has an embedded source code editor that renders Markdown live, diagrams included: fence a code block with mermaid to render a Mermaid diagram, or mermaid-to-excalidraw to render the same Mermaid source in Excalidraw style. .excalidraw files open directly on a drawing canvas.
Key habits in Markdown files:
- Type
@todayor@dateand press Space.@todayinserts today's date as a pill;@datealso opens a calendar to pick another day or format. - Type
@nameto search your contacts, or@@nameto commit a mention pill that links into the graph. - Type
[[to autocomplete links to files in the workspace;[[file#autocompletes headings inside the file. - Use
to embed media inline, including SVG images and.excalidrawdrawings.
Special frontmatter
Chan recognizes a chan: block in Markdown frontmatter. kind: contact turns the file into a Contact, a distinct node in the graph that mentions resolve against; the optional aliases list is what @@alias mentions match:
---
aliases: [jq, jdoe]
chan:
  kind: contact
---
kind: slides turns the file into a slide deck; start a new slide with @pagebreak on its own line. The slides: block is optional: aspect_ratio takes "16:9" or "4:3", and zoom_factor scales the slide content (a number, default 2, or a percentage like "150%"):
---
chan:
  kind: slides
  slides:
    aspect_ratio: "16:9"
    zoom_factor: 2
---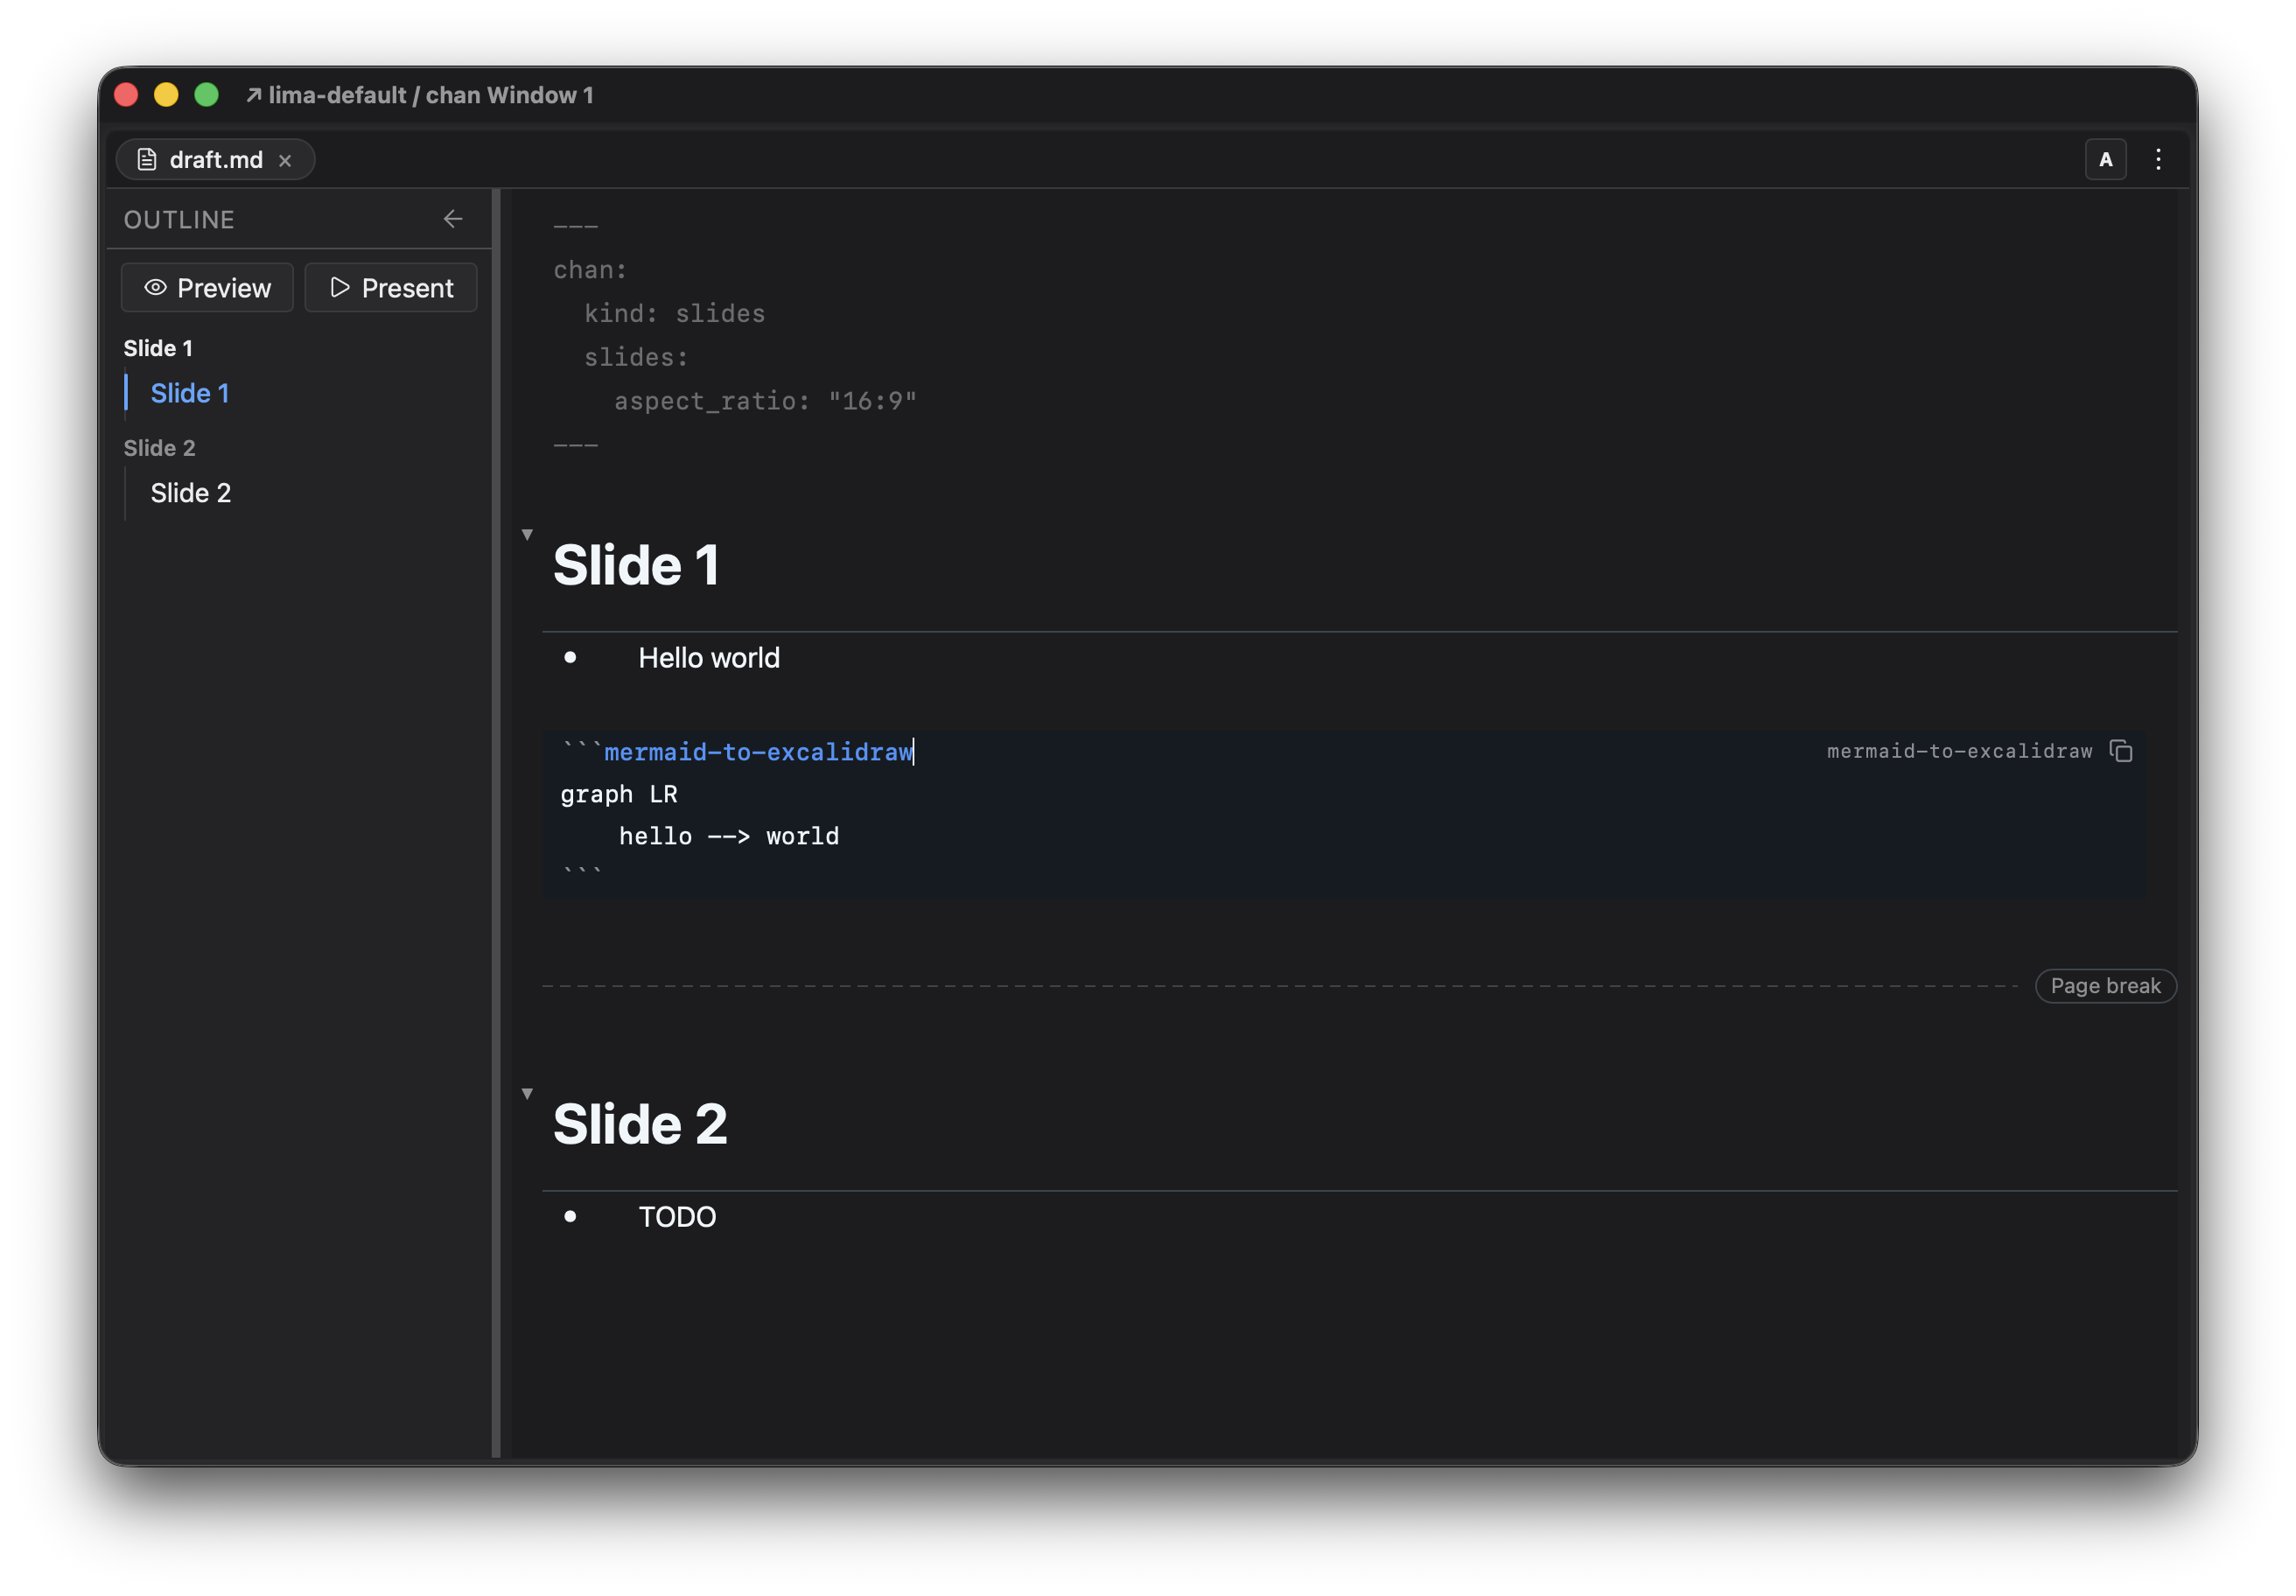
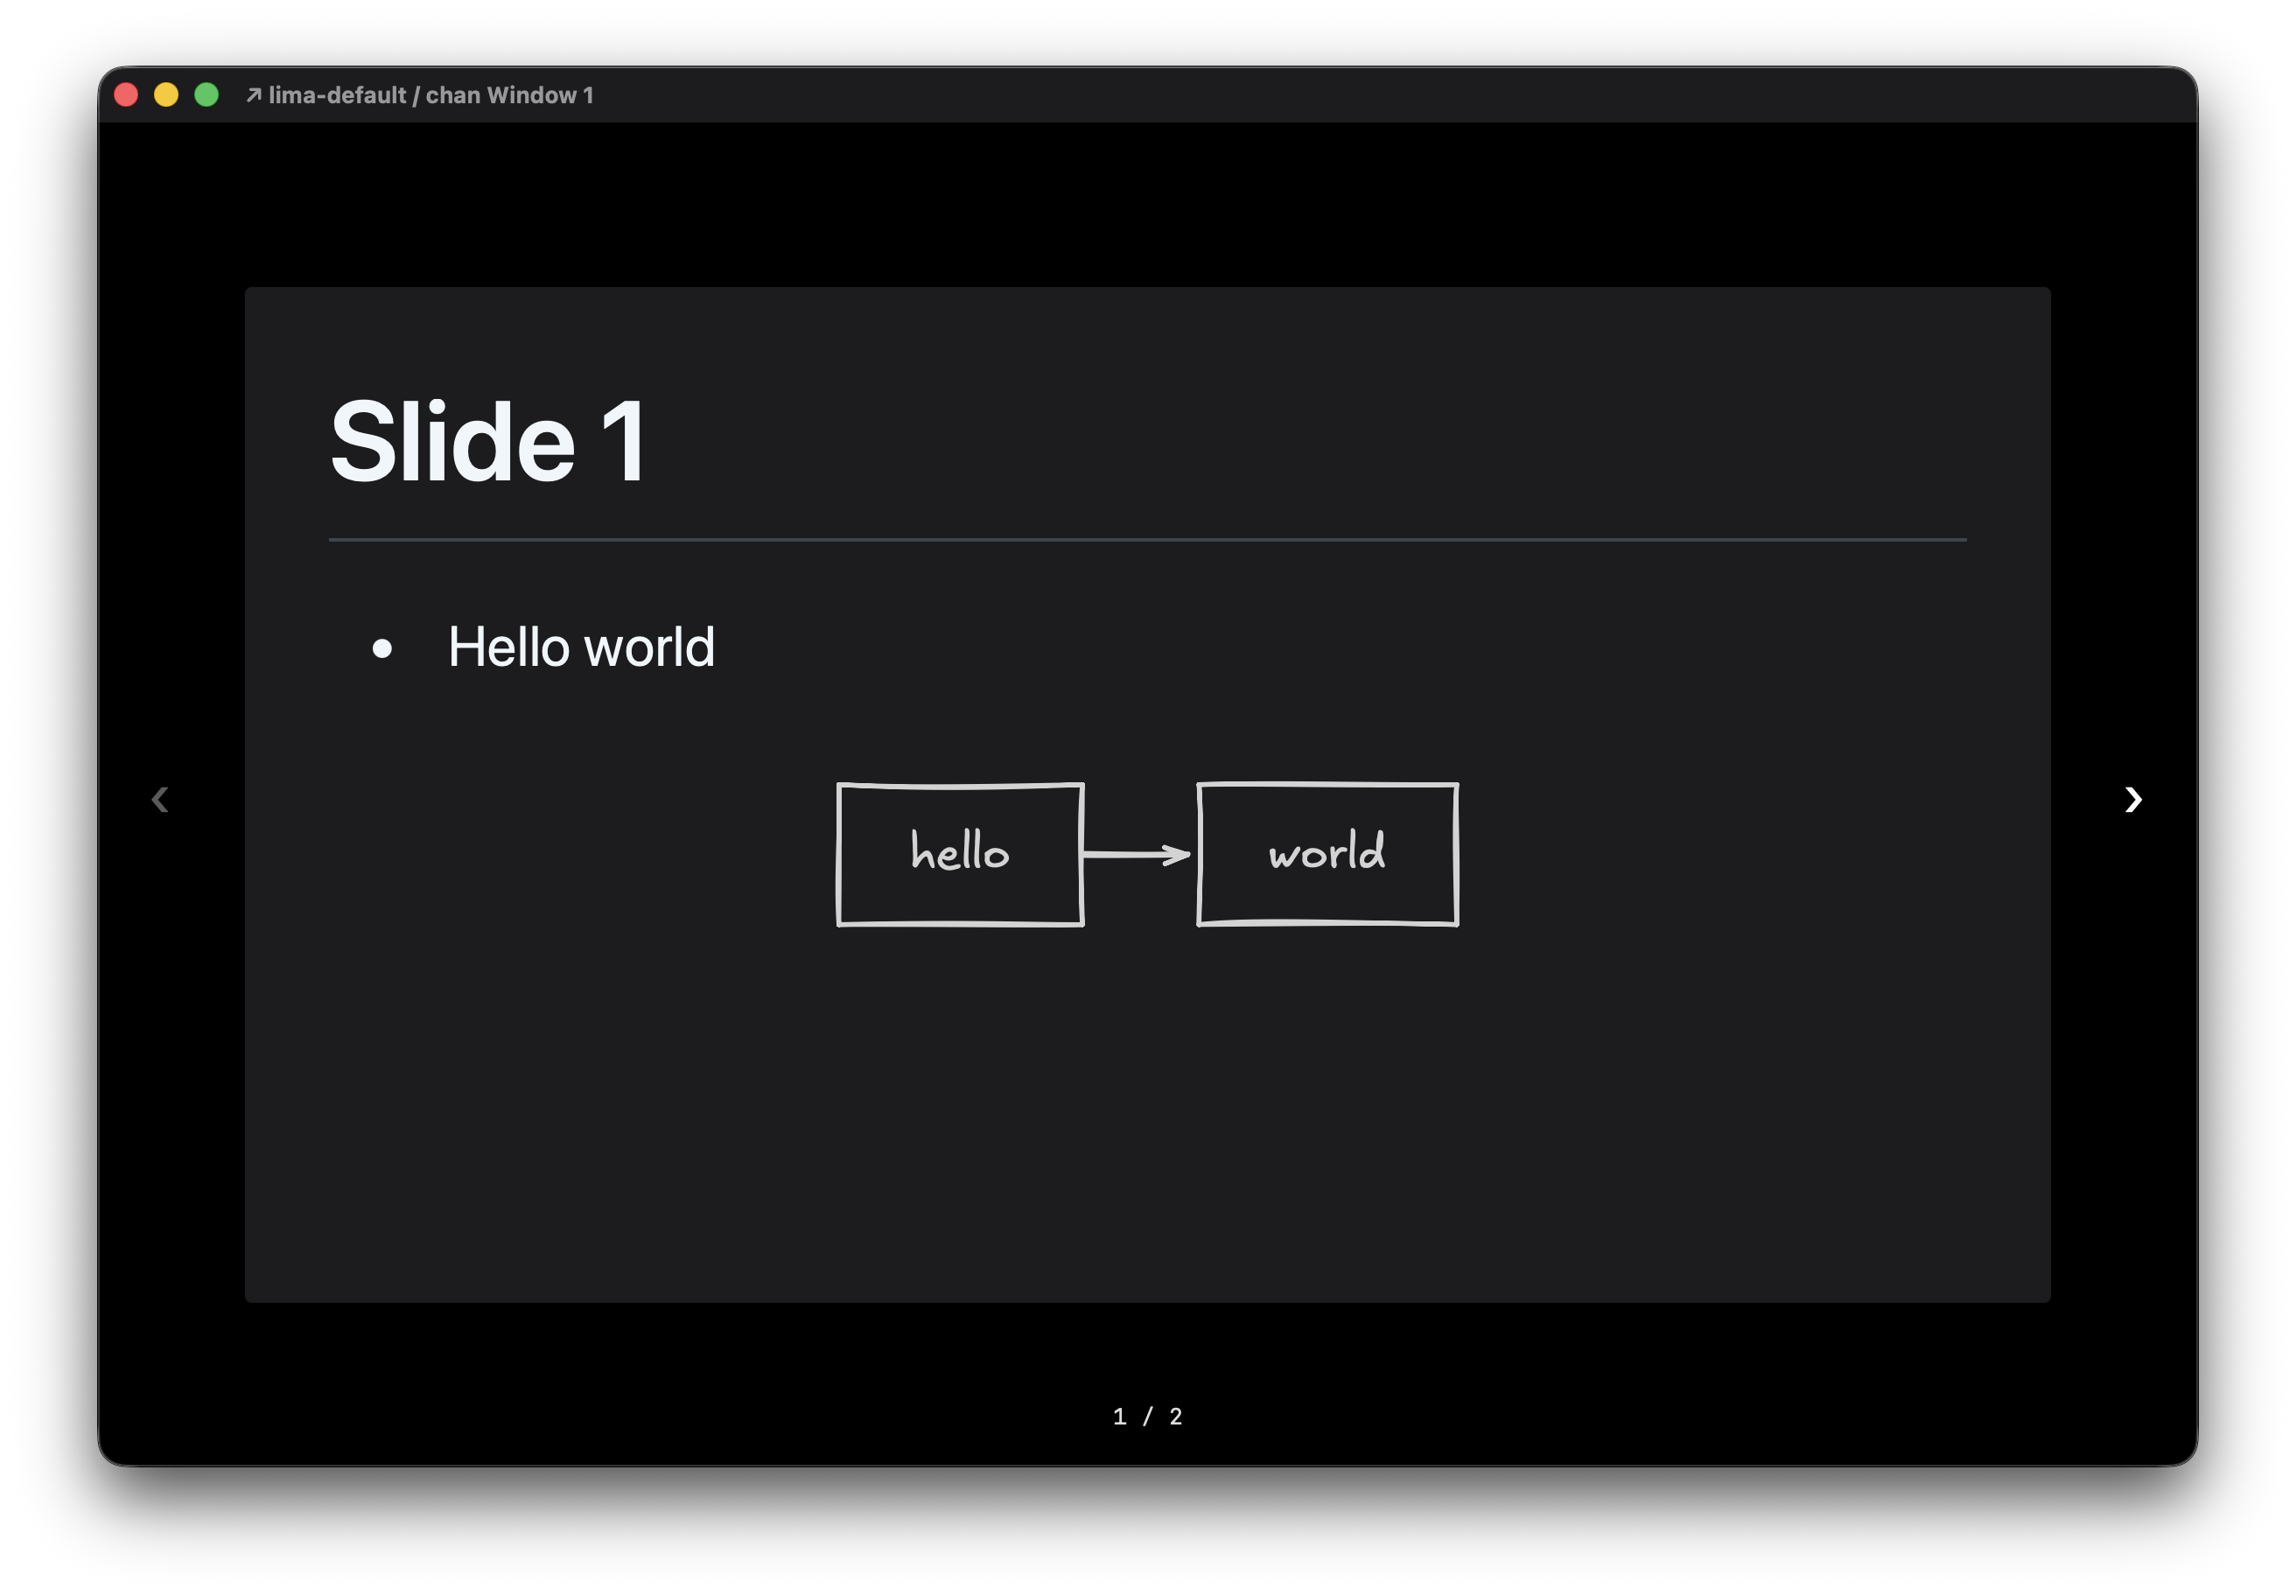
Chan's editor supports both mermaid and mermaid-to-excalidraw code blocks, plus it has Excalidraw embedded. You can open .excalidraw files via the file browser or cs open {path} in a workspace.